
How to Window Tint: Enhancing Your Car's Style and Privacy
Learn the basics of window tinting for cars, including why you should consider it, what type of materials you need, how much it will cost, and more. Discover the benefits of window tinting today!

When you shop through retailer links on our site, we may earn affiliate commissions. Learn more
Window tinting is a common car alteration that not only improves the appearance of your vehicle but also gives privacy, decreases glare, and filters dangerous UV rays. Professional installation is a possibility, but it may be expensive. You've come to the correct spot if you're ready for a DIY project and want to learn how to window tint your automobile. We'll lead you through the procedure step by step in this detailed guide, assuring a flawless window tint installation.
Prepare Necessary Materials
- Window film kit: Choose a high-quality window film kit suitable for automotive applications.
- Window cleaner: Use an ammonia-free cleaner to ensure a clean surface.
- Squeegee: A flexible squeegee will help smooth out the film.
- Heat gun or hairdryer: These tools will aid in shaping and activating the film.
- Razor blade or utility knife: For trimming the excess film.
- Spray bottle: Fill it with a mixture of water and a few drops of dish soap.
Related Articles
A Step-by-Step to Window Tint
Step 1: Prepare Your Work Area
Locate a well-lit, clean area to work on your car. To avoid breathing any pollutants, make sure the location is well-ventilated. To prevent the film from drying off too soon during installation, park your automobile in a shady place.
Step 2: Clean the Windows Thoroughly
Clean both the interior and outside windows. Clear away any dirt, dust, or debris that might obstruct the installation procedure. Before beginning, ensure that the windows are thoroughly dry.
Step 3: Measure and Cut the Film
Measure each window panel individually using a tape measure. Add an extra inch to each side to allow for adjustments during installation. Lay the film flat on a clean surface and cut it to match the measurements taken.
Step 4: Wet the Window
Fill the spray bottle with the water and dish soap mixture. Spray a generous amount onto the window you are about to tint. This will create a slippery surface, allowing you to adjust the film easily during installation.
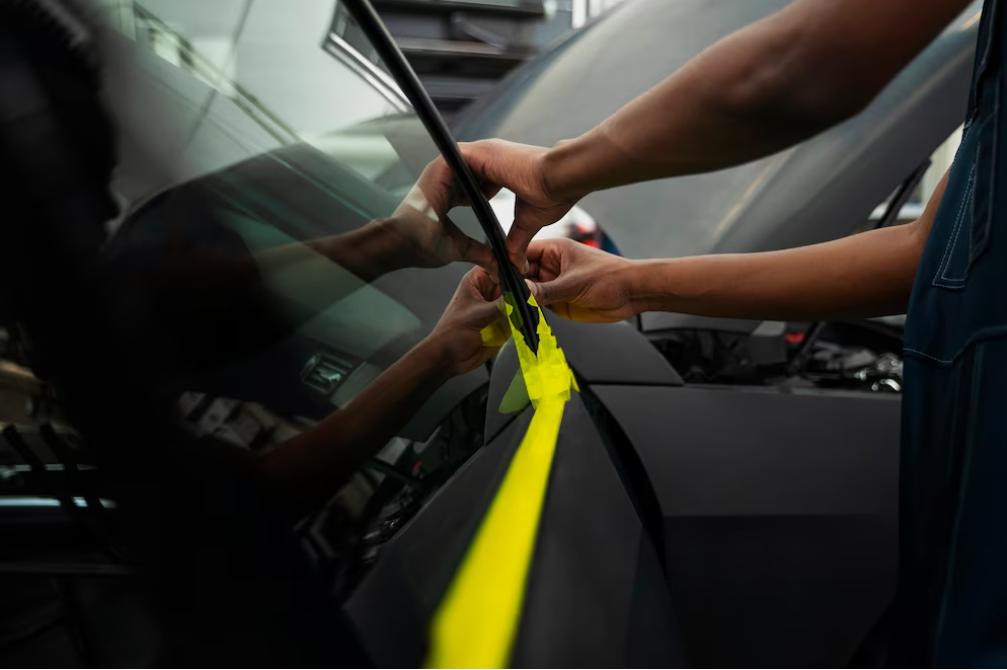
Step 5: Peel the Film and Apply It to the Window
Peel the protective layer from the adhesive side of the film. Spray the exposed adhesive side with the water and soap mixture to prevent it from sticking prematurely. Carefully align the film with the top edge of the window and slowly apply it, using your fingers to smooth out any air bubbles or wrinkles.
Step 6: Trim the Excess Film
After applying the film, clip the extra film around the window's edges using a razor blade or utility knife. To achieve a clean and professional finish, take your time and make accurate cuts.
Step 7: Shape and Heat the Film
Heat the film from the exterior using a heat gun or a hair dryer on low heat. This will allow the film to follow the curve of the glass. Take cautious not to overheat the film, since this might cause damage.
Step 8: Smooth Out the Film
Using a squeegee, starting from the center and working your way outwards, gently smooth out the film, removing any remaining air bubbles or wrinkles. Take your time to achieve a seamless and uniform appearance.
Step 9: Repeat the Process for Each Window
Repeat steps 4 to 8 for each window panel you want to tint. Remember to clean the windows thoroughly before applying the film each time.
Step 10: Let the Film Dry
Allow the newly tinted windows to dry for at least 48 hours before rolling them down or cleaning them. This will ensure proper adhesion and prevent any damage to the film.
FAQs
-
How do I maintain and care for tinted windows?
To maintain the appearance and longevity of tinted windows, it's essential to follow a few care tips. Avoid using abrasive cleaning tools or products that could scratch or damage the film. Use a mild window cleaner or a mixture of water and mild soap to clean the windows. When drying, gently pat or blot the windows rather than rubbing them. Additionally, avoid using any sharp objects or adhesive materials on the tinted surface.
-
Can I roll down the windows immediately after tinting?
It's crucial to allow the tinted windows to fully dry and adhere to the glass before rolling them down. This drying period usually takes around 48 hours. Rolling down the windows too soon may disturb the film and affect its proper adhesion. Patience is key to ensure the tinting job remains intact and lasts for a long time.
See more review here: Top 10 Tow Ropes For Cars: Your Ultimate Guide


