A Step-by-Step Guide to Safely Remove Wing Mirror Glass
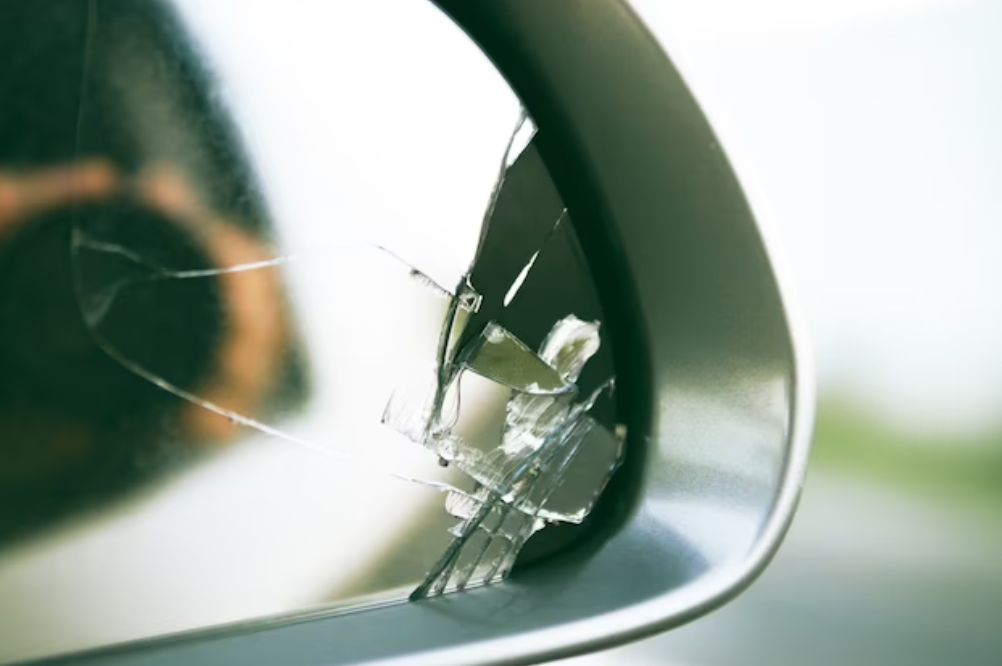
Wing mirrors, sometimes known as side mirrors, are crucial car components that improve sight and safety when driving. For a variety of causes, the mirror glass may get broken, fractured, or require replacement over time. Removing the wing mirror glass may appear to be a difficult process, but it can be done securely and swiftly with the appropriate advice and a cautious approach. We will lead you through the procedure of removing wing mirror glass without causing any harm to your car in this step-by-step tutorial.
Gather The Necessary Tools And Materials
- Flathead screwdriver or a panel removal tool
- Clean cloth or towel
- Protective gloves (optional)
- Replacement mirror glass (if necessary)
Step 1: Locate the retaining clips or screws
Inspect your wing mirror to identify the type of retention mechanism it has. Most wing mirrors are either held in place by retaining clips or screws. Knowing which type you have will help you proceed with the removal process correctly.
Step 2: Remove the retaining clips
If your wing mirror is held in place by retaining clips, carefully slide a flathead screwdriver or panel removal tool beneath the glass. Pull the clips apart from the mirror housing using gentle pressure. Work on one clip at a time, beginning at the top and then moving to the sides and bottom. Take your time and avoid using excessive force that might harm something.
Step 3: Unscrew the wing mirror (if applicable)
Use the proper screwdriver to find and remove any screws holding your mirror in place. The screws are often located on the side or rear of the mirror housing. Carefully loosen and remove the screws, placing them in a secure location to avoid loss.
Step 4: Gently remove the wing mirror glass
Once the retaining clips are released or the screws are removed, you can proceed to remove the wing mirror glass itself. Hold the mirror with one hand while using the other to support the glass from behind. Apply gentle pressure and slowly slide the mirror glass out of the housing. Be cautious not to force it or apply excessive pressure, as this could cause the glass to crack or break.
Step 5: Clean and inspect the mirror housing
Remove the wing mirror glass and wipe the mirror housing with a clean cloth or towel. Clean off any dirt, debris, or adhesive residue that has collected over time. Inspect the housing for evidence of damage or wear as well. Before installing the replacement mirror glass, make any required repairs.
Step 6: Install the replacement mirror glass (if applicable)
If you need to replace the wing mirror glass, carefully position the new glass into the mirror housing. Ensure it aligns properly with the retaining clips or screw holes. Apply gentle pressure and push the glass into place until it is securely seated. If there are retaining clips, listen for a clicking sound to indicate that they have engaged correctly.
Step 7: Reassemble the wing mirror
It's time to reinstall any screws that were removed throughout the operation. Insert the screws back into their corresponding holes with care, tightening them securely but not excessively. Check that the mirror glass is securely fastened and correctly positioned within the housing.
-
Is it necessary to wear protective gloves during the removal process?
Although not required, wearing protective gloves can be advantageous. Gloves provide you a better grip and shield your hands from any potentially harmful sharp edges while you remove the clothing. To guarantee safety, you can decide to put on gloves if you'd like.
-
Are there any additional steps I should follow if I need to replace the entire wing mirror assembly?
Yes, if you need to replace the entire wing mirror assembly, there are additional steps involved. These may include disconnecting the electrical connectors for power mirrors, removing any trim panels or covers, and potentially adjusting or aligning the new mirror assembly for proper positioning. It's recommended to refer to the vehicle's specific service manual or seek professional assistance for complete wing mirror assembly replacement.
Read more review here: Top 10 Car Blower Dryers For Effortless Drying


.png)
