How to Fix Tears in Vinyl Seats
Opting for vinyl seats is a common choice due to their durability and low maintenance. However, wear and tear can occur over time. The great news is that you don't need to tolerate unsightly tears or immediately consider replacing the entire seat. Our detailed guide will take you through a systematic process of repairing tears in vinyl seats, reviving your seating without straining your budget. Bid farewell to unpleasant tears and welcome a revitalized, like-new vinyl seating experience through our comprehensive tutorial.

What Is the Difference Between Vinyl and Other Types of Seats?
Vinyl and other types of seat materials have different advantages and disadvantages. Here is a brief comparison of vinyl with some common alternatives:
- Vinyl vs. Leather: Vinyl is a synthetic material that mimics the look and feel of leather. It is cheaper, easier to clean, and more resistant to wear and tear than leather. However, it is less breathable, less comfortable, and less natural than leather. Vinyl can also crack or fade over time.
- Vinyl vs. Cloth: Vinyl is a plastic material that is smooth and shiny. It is more durable, waterproof, and stain-resistant than cloth. However, it is less soft, less cozy, and less absorbent than cloth. Vinyl can also get hot or cold depending on the weather.
- Vinyl vs. Alcantara: Alcantara is a type of polyester fabric that has a suede-like texture. It is more luxurious, more elegant, and more eco-friendly than vinyl. However, it is more expensive, more difficult to maintain, and more prone to fading than vinyl. Alcantara can also attract dust or lint.

Step 1: Assess the Damage
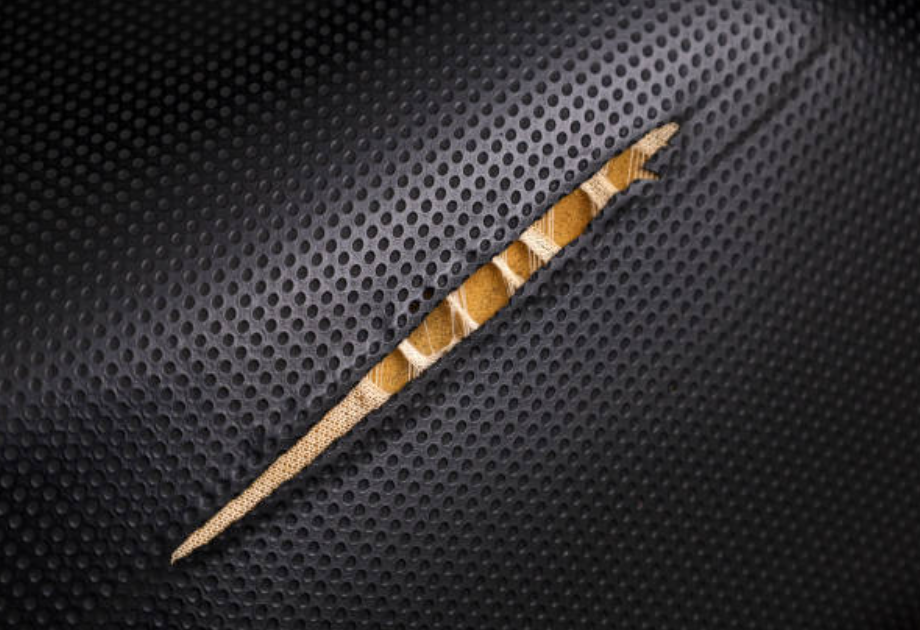
Start by carefully examining the tear in your vinyl seat. Determine the size and location of the tear, as well as any underlying issues. Small tears can often be repaired effectively, while larger or more complex damage may require additional steps.
Step 2: Clean the Area
Before you begin the repair process, it's crucial to clean the damaged area thoroughly. Use a mild soap or vinyl cleaner to remove any dirt, debris, or grease from the tear. A clean surface ensures better adhesion of the repair materials.
Step 3: Trim Loose Threads
If there are loose threads around the tear, carefully trim them with sharp scissors. Trimming loose threads prevents further damage and ensures a smoother repair surface.
Step 4: Choose the Right Repair Kit
Visit your local automotive or upholstery supply store to find a vinyl repair kit suitable for your needs. These kits typically include vinyl repair compound, color-matching materials, and tools for application.
Step 5: Apply Vinyl Repair Compound
Follow the instructions provided in your repair kit. Generally, you'll apply the vinyl repair compound to the torn area, spreading it evenly to cover the entire damaged section. Use the included applicator or a spatula to achieve a smooth finish.
Step 6: Let It Cure
Allow the vinyl repair compound to cure completely. This may take a few hours or overnight, depending on the product. Avoid putting stress on the repaired area during this time.
Step 7: Sand and Blend
After the compound has cured, lightly sand the repaired area to create a seamless finish. Be gentle to avoid damaging the surrounding vinyl. Blend the repaired section with the rest of the seat, ensuring a natural look.
Step 8: Apply Color Matching
If your repair kit includes color-matching materials, use them to match the color of the repaired area to the rest of the seat. Follow the kit instructions for accurate color application.
Step 9: Seal and Protect
Once you're satisfied with the repair and color matching, consider applying a vinyl sealant or protector to the entire seat. This helps protect against future damage and keeps the vinyl looking fresh.
-
How long does the vinyl repair compound take to cure?
The curing period varies according to the product. It could take several hours or overnight. Avoid exerting pressure on the mended region during this period.
-
Can I match the color of the repaired area to the rest of the seat?
Yes, many repair kits include color-matching materials. Follow the instructions provided to accurately match the color of the repaired area to the rest of the seat.
Read more article here: The 10 Best Battery Disconnect Switches For Ultimate Control


