
How To Apply A Ceramic Coating To Your Car?
Discover the essential steps for applying a ceramic coating to your car. Achieve optimal protection and shine with our expert guide!

When you shop through retailer links on our site, we may earn affiliate commissions. Learn more
Your car, a symbol of mobility and freedom, deserves the utmost care and attention. In the realm of automotive detailing, ceramic coating stands out as a revolutionary method for protecting and enhancing the appearance of your vehicle. Unlike traditional waxes and sealants, ceramic coatings form a durable layer of protection that bonds chemically with the paint, offering unparalleled defense against the elements and a glossy, showroom-worthy finish.
This comprehensive guide dives into the depths of ceramic coating, exploring its benefits, application process, and essential tools and materials required. Whether you're a seasoned enthusiast or new to the world of automotive detailing, this primer aims to equip you with the knowledge needed to elevate your car's protection and aesthetic appeal.
IN THIS ARTICLE
What Is Ceramic Coating?What Are The Advantages Of Ceramic Coating?
Tools And Materials You Need To Prepare Before Ceramic Coating
How To Apply A Ceramic Coating To Your Car?
FAQs
Final Thoughts
What Is Ceramic Coating?
An industry-grade chemical polymer called ceramic coating is used to shield a car's paint job from environmental deterioration. When manually applied, it creates a hydrophobic coating that blends in with the vehicle's paint job, maintaining the original finish. This long-lasting treatment protects the clear coat from dirt and stains by withstanding harsh weather and environmental damage.

Related Articles
What Are The Advantages Of Ceramic Coating?
1. Enhanced Protection: Acts as a shield against sun damage and preserves paint vibrancy, extending to interior surfaces like leather seats and steering wheels.
2. Improved Durability: Provides long-lasting protection against wear and tear, ensuring your car maintains its appearance even after years of use.
3. Repels Dirt and Grime: Hydrophobic properties keep your car clean by repelling water, dirt, and mud, making it easier to maintain a flawless exterior.
4. Easy Cleaning: Simplifies the cleaning process by preventing dirt and debris from sticking to the surface, reducing the need for intensive scrubbing.
5. Smart Investment: Rather than a frivolous expense, ceramic coating is a wise investment in preserving your vehicle's long-term allure and protection.

Tools And Materials You Need To Prepare Before Ceramic Coating
- 3-plus microfiber towels
- Paper towels
- A wash bucket (or two)
- Surface prep
- Car soap
- Ceramic coating kit
- Car wash sponge. The mitts are a nice splurge too.
How To Apply A Ceramic Coating To Your Car?
Step 1: Choose an Appropriate Location
Ensure you work in a covered, well-ventilated area with shade to avoid inhaling the product's fumes, which can be unpleasant.
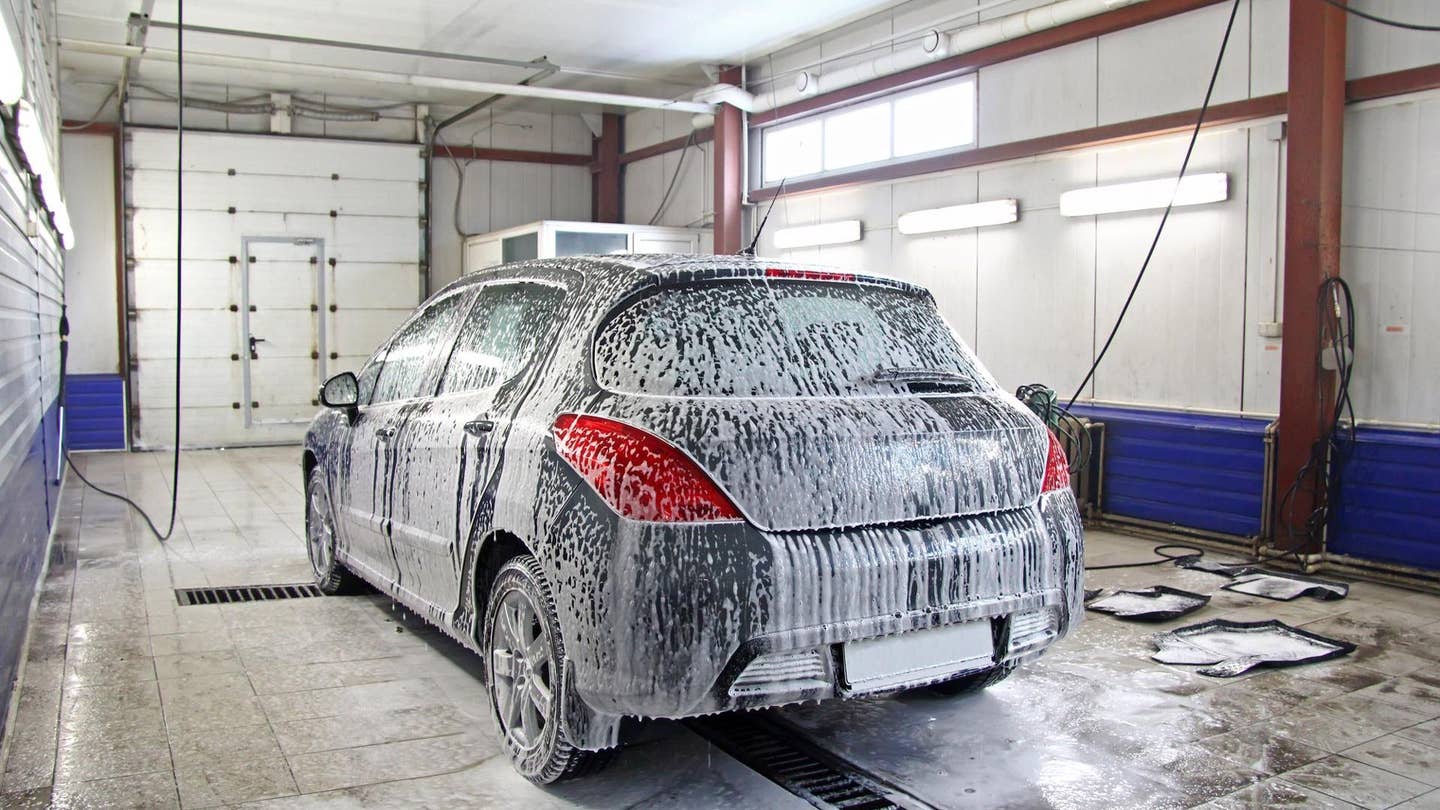
Step 2: Wash and Dry the Car
- Start by rinsing the entire car with water to remove any loose dirt and debris. Use a hose with a spray nozzle or a pressure washer if available.
- Fill one of the wash buckets with water and add the recommended amount of car soap. Use the car soap and a wash sponge or mitt to gently wash the entire surface of the car, working from the top down.
- Pay extra attention to areas with heavy dirt or grime buildup, such as the lower panels and wheels. You may need to use a separate sponge or brush for these areas.
- Rinse the car thoroughly with clean water to remove all soap residue.
- Use a microfiber towel to dry the car completely, ensuring there are no water spots left behind.
Step 3: Prep the Surface
- Inspect the entire surface of the car for any remaining contaminants, such as tar, bug splatter, or tree sap. Use a surface prep solution or detailing clay to remove these contaminants. Spray the solution onto the affected areas and gently rub with a clay bar or towel until the contaminants are removed.
- Once the surface is clean and free of contaminants, inspect for any imperfections, such as scratches or swirl marks. If necessary, use a polish or compound to correct these imperfections before applying the ceramic coating.
- Finally, wipe down the entire surface of the car with a clean microfiber towel to ensure it is completely dry and free of any residue before applying the ceramic coating.
Step 4: Applying the Ceramic Coat
Refer to the instructions provided with your kit for specific guidelines. Apply the ceramic coating to the applicator and work it onto the vehicle surface in small sections, following straight lines. Allow the product to sit for the recommended time.
Step 5: Wiping Off the Ceramic Coat
Using a clean microfiber towel, wipe off the product from the surface.
Step 6: Curing Process
After coating, allow the product to cure for 24 hours without exposure to water or other elements. Plan accordingly to avoid any contact with the car during this time.
FAQs
Is it possible to make mistakes with ceramic coating?
Yes, while the paint won't be affected, ceramic coatings are more challenging to remove than wax. It's essential to take your time during the application process and ensure it's done correctly.
What are the ingredients in ceramic coating?
While formulations may vary, silica dioxide (SiO2) is the primary ingredient in most ceramic coatings.
How long does ceramic coating typically last?
With proper preparation, application, and a high-quality coating, ceramic coatings can last between 2 and 5 years.
Can I apply wax to a ceramic coating?
Technically, yes, but it's not recommended. Ceramic coatings offer superior water and contaminant repellency compared to wax. Instead, maintain cleanliness and occasionally use a ceramic booster spray for added protection.
Final Thoughts
To sum up, ceramic coating ensures that the paint on your car will always look good and last a long time. Ceramic coating is a smart investment in maintaining the aesthetic appeal of your car, offering protection from sun damage as well as resistance to dirt and grime. Now that you have the knowledge and direction found in this guide, as well as the required equipment and setup procedures, you are prepared to start your ceramic coating adventure. I hope your car continues to be a shining example of beauty for many years to come and that it continues to withstand the weather.
Click on the following link to read another blog post: What Is A Resonator?


.png "best way to get bird poop off car")