
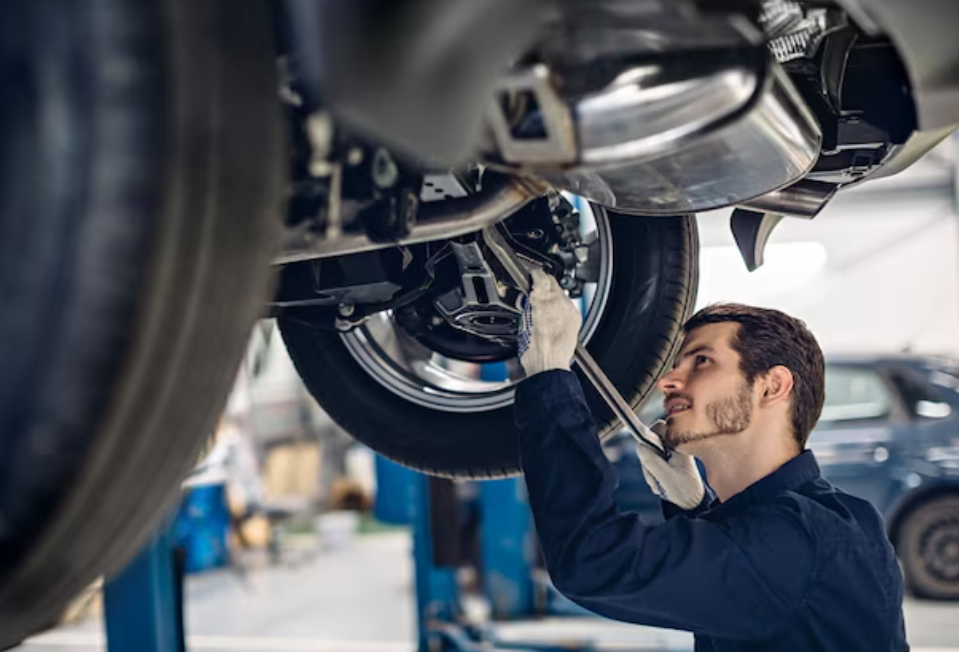
How to Replace Tie Rod Ends
Replace out tie rod ends is a critical aspect of car maintenance, as these components play a vital role in keeping your wheels properly aligned and allowing them to function independently. If you've been experiencing issues like loose steering or increased resistance, worn tie rod ends could be to blame. This guide will walk you through the replacement process, ensuring your wheels are back in proper alignment and your vehicle is roadworthy once more.

What are Tie Rod Ends and What Do They Do?
Tie rod ends are indispensable components of a vehicle's steering system, responsible for transmitting the driver's steering input to the front wheels, thereby controlling the direction of the vehicle. Their critical role in maintaining wheel alignment ensures that the wheels remain parallel and properly oriented to the road's surface, contributing to predictable handling and even tire wear.
Additionally, tie rod ends act as shock absorbers, mitigating the impact and vibrations from road conditions, enhancing ride comfort. Their wear and tear over time can result in steering irregularities and compromised stability, making their inspection and timely replacement an essential aspect of vehicle maintenance to ensure safe and efficient steering and handling.

Step 1: Gather Your Tools and Materials
- Jack and jack stands
- Wrenches and sockets
- Pliers
- Tie rod end puller or pickle fork
- New tie rod ends
- Grease
- Torque wrench
- Marking paint or chalk
Step 2: Safety First
Ensure your safety by parking your vehicle on a level surface, engaging the parking brake, and wearing appropriate safety gear, such as safety glasses and gloves.
Step 3: Lift the Vehicle
Utilize a jack to elevate the front of your vehicle and ensure its stability and safety by securing it with reliable jack stands.
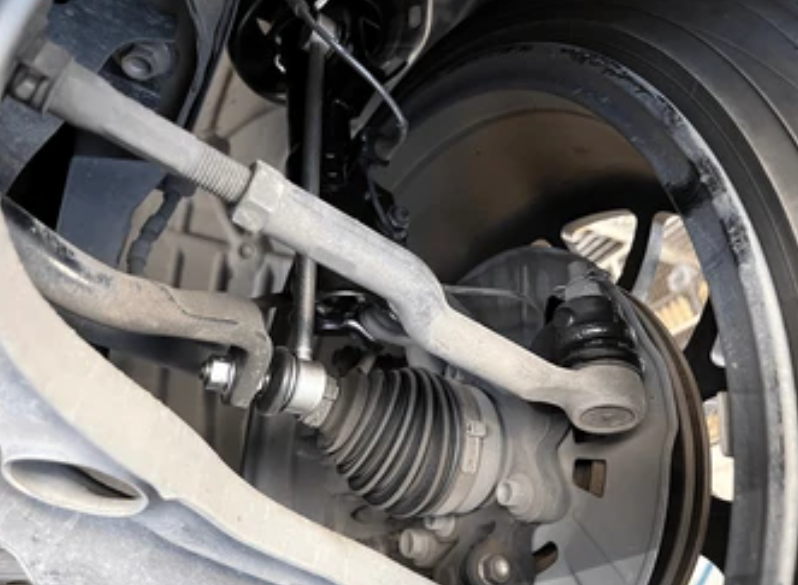
Step 4: Locate the Tie Rod Ends
Locate the tie rod ends on both sides of the vehicle. They are connected to the steering knuckles and the steering gear.
Step 5: Mark the Threads
Use marking paint or chalk to mark the threads on the tie rod and the jam nut. This will help you maintain alignment when you reassemble the new tie rod ends.
Step 6: Remove the Jam Nut
Use a wrench to loosen and remove the jam nut. Count the number of turns it takes to remove it. This will be crucial for setting the alignment later.
Step 7: Remove the Tie Rod End
If your tie rod end has a cotter pin, remove it first. Then, use a socket or wrench to remove the castle nut. Next, use a tie rod end puller or a pickle fork to separate the tie rod end from the steering knuckle.
Step 8: Install the New Tie Rod End
Apply grease to the new tie rod end's threads. Screw it into the steering knuckle as many turns as the old one was removed. Then, tighten the castle nut to the manufacturer's specifications.
Step 9: Reassemble
Slide the jam nut back over the tie rod end and tighten it, using the number of turns you counted when removing it. Ensure the alignment marks on the threads match.
Step 10: Check Alignment
Have your vehicle's alignment checked by a professional to ensure it's within the manufacturer's specifications.
Step 11: Test Drive
Take your vehicle for a test drive to ensure it handles properly, and the steering is responsive.
-
Rusty or Stuck Components: Corrosion and rust can make it difficult to loosen and remove the tie rod end nuts, making the removal process challenging.
-
Lack of Proper Tools: Insufficient or incorrect tools can complicate the job, leading to issues with loosening nuts, separating tie rod ends, and securing new components.
-
Alignment: After replacing tie rod ends, it's crucial to perform a wheel alignment to ensure the wheels are correctly positioned. Failing to do so can result in uneven tire wear and poor handling.
-
Tightening Jam Nuts: Failing to tighten the jam nuts properly can lead to alignment issues and reduced steering control. Precision is essential during this step.
-
Incorrect Torque: Over-tightening or under-tightening components can result in problems with steering responsiveness and handling. Using a torque wrench to achieve the manufacturer's specifications is vital.
-
Misalignment Markings: Accurate alignment markings are essential when reassembling tie rod ends. Failing to align them correctly can result in steering problems and off-center steering wheels.
-
Tie Rod End Damage: While removing the tie rod end, it's possible to damage the rubber boots or the threaded portion of the tie rod. Damaged parts should be replaced.
-
Cotter Pin Installation: If a tie rod end has a cotter pin, it must be installed correctly to secure the castle nut. Incorrect installation can lead to instability and potential steering issues.
-
Can I lubricate tie rod ends to extend their lifespan?
Most tie rod ends come pre-greased, and over-greasing them can be detrimental. It's best to follow the manufacturer's recommendations regarding lubrication.
-
What is the cost of replacing tie rod ends at a professional repair shop?
The cost of tie rod end replacement can vary depending on the make and model of your vehicle, labor rates, and the shop's location. Typically, it can range from $150 to $300 or more per tie rod end.
View anther article here: The 10 Best Smart Plugs For Ultimate Convenience


How To Change Drum Brakes?

The Ultimate Guide to Cleaning Dirty Leather Car Seats

Navigating the Journey of Hybrid Battery Replacement
.png "best way to get bird poop off car")
The Best and Easiest Ways to Remove Bird Poop From Your Car

Fixing Power Steering Pump Noise
How To Replace Your Car's Fuel Filter?
How To Replace A Water Pump?
How To Apply A Ceramic Coating To Your Car?


