How To Use A Spring Compressor?
Curious about the enigmatic tool known as the spring compressor? If you're venturing into the world of automotive maintenance or repair, understanding its function is crucial. A spring compressor is more than just a piece of equipment—it's a safety device that plays a pivotal role in the maintenance of suspension systems.
In this comprehensive guide, we'll delve into the functions of the spring compressor, unraveling its purpose and providing insights into how to use it effectively and safely.
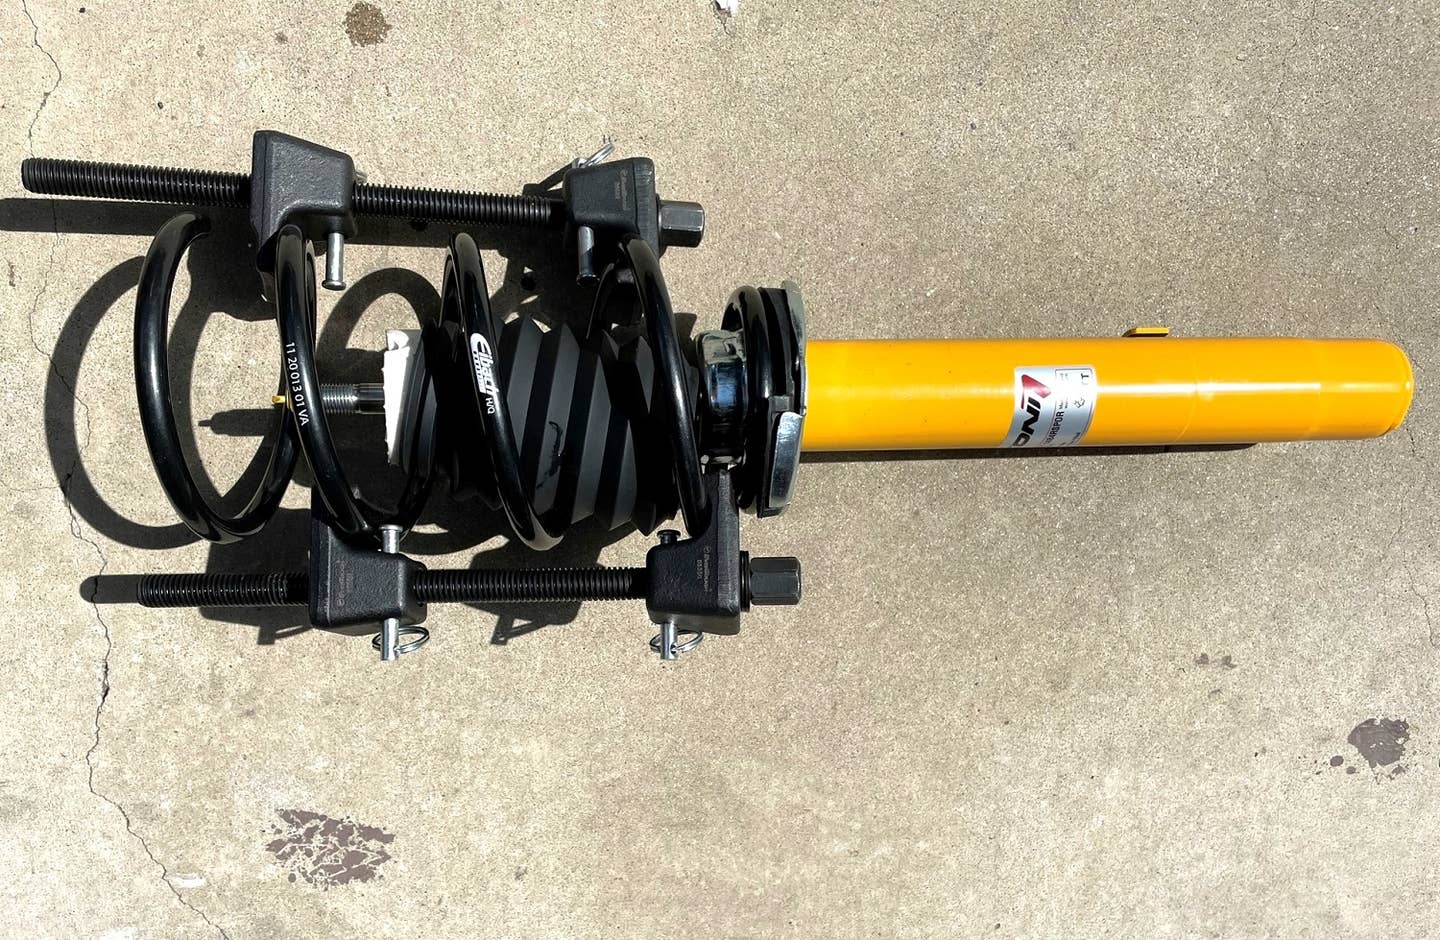
What Is a Spring Compressor?
A spring compressor is a tool used to compress coil springs in automotive suspension systems, facilitating safer removal or installation. It's vital for tasks like replacing struts or shocks, reducing the risk of accidents by controlling the release of the spring's stored energy.
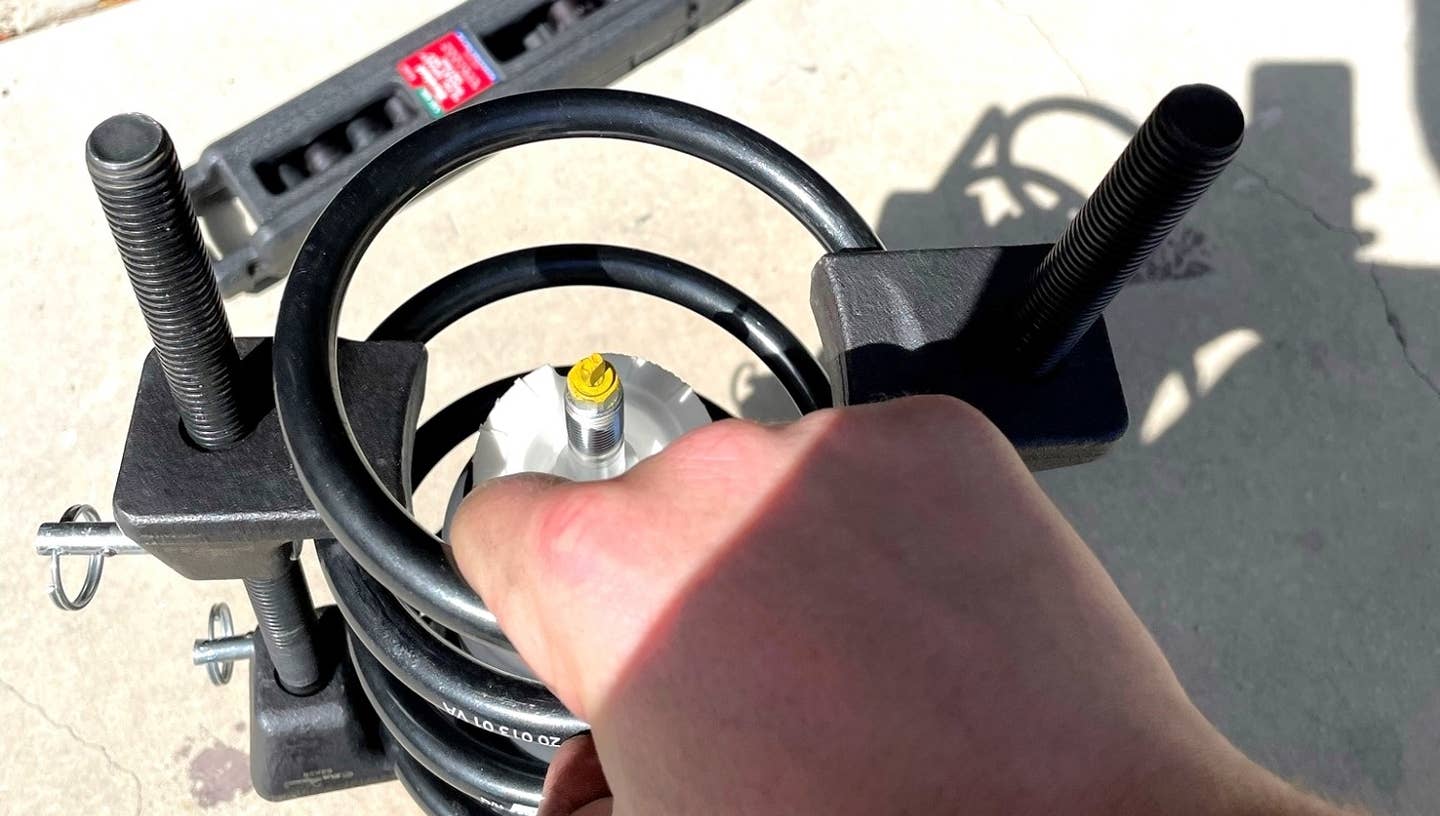
The primary function of a spring compressor is to safely compress coil springs, making it easier to install or remove them from various automotive components, such as struts, shocks, and suspension systems. This tool helps control the release of stored energy in the spring, reducing the risk of accidents and injuries during maintenance or repair tasks.

Before using a spring compressor, ensure you have the necessary tools and materials ready. Here's a checklist:
- Set of wrenches
- Ratchet and socket set
- Spring compressor
- Optional: Vise
Also, gather the spring, shock, top hat mount, and any other required parts for assembling the shock and spring combo for your vehicle.
Most importantly, ensure the spring and shock are positioned to avoid potential injury from flying parts. This means directing the top hat away from you as you securely bolt it down.
1. Equip yourself with safety gear, including goggles, gloves, and a helmet if available.
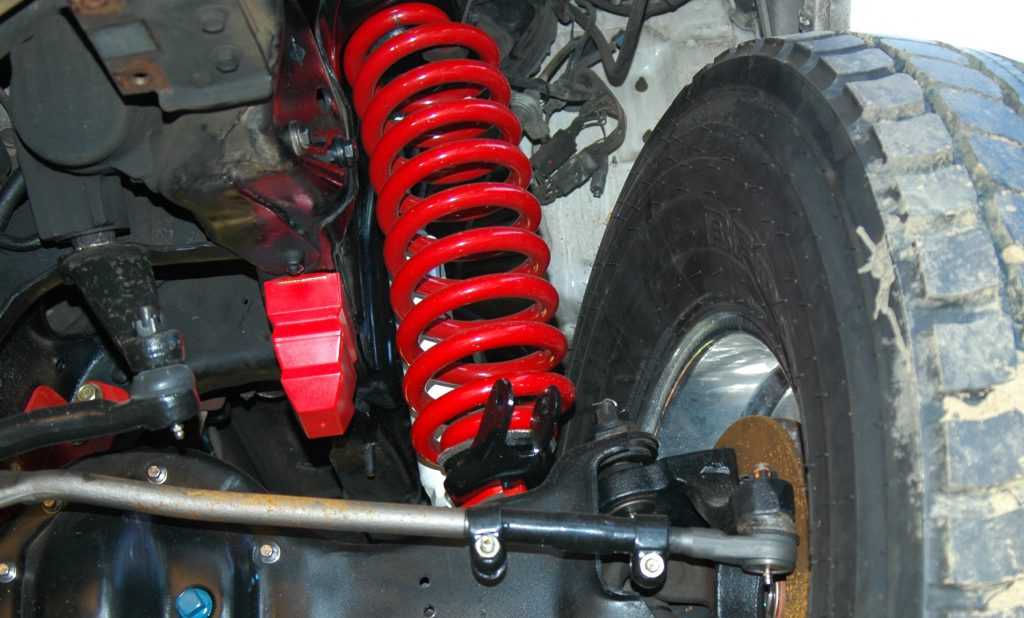
2. Align the spring on the shock, ensuring the bottom coil is properly seated. Refer to your vehicle's manual for guidance, as mating surfaces may not always be flat. Using a vise to secure the shock can simplify this step.
3. Position the spring compressor by placing its two pieces opposite each other. Clamp each end onto inner coils, with the top hat mount on the top coil and the spring seat against the bottom coil.
4. Gradually tighten the compressor pieces until they lightly rest against the coils. If there are locking pins, engage them. Using a conventional or ratcheting wrench (avoiding impact guns), tighten the compressors equally, alternating half turns to maintain balanced force distribution.
5. Continue compressing the spring until the shock's threads extend above the top coil. Attach the shock's top hat mount and tighten its nut onto the center shaft as far as possible. If unable to tighten or barely able to do so, further compression is needed.
6. Slowly loosen the spring compressor pieces in a controlled manner, ensuring equal loosening. As they loosen, verify the proper seating of the top and bottom coils against their respective surfaces.
Once fully unloaded and with coils seated securely, remove the compressor. Always keep the top and bottom of the spring/shock assembly aimed away from you throughout the process.
Here are essential tips to ensure a smooth and safe experience when using a spring compressor:
1. Prioritize the condition of the spring compressor. Regularly inspect it for any signs of wear, such as cracks, rust, or other damage. Keep the threads lubricated to prevent friction. It's crucial to avoid using a compromised compressor to prevent accidents.
2. Follow the manufacturer's instructions carefully, especially when tightening the top hat nut. Most shock shafts feature a provision for an Allen key to prevent spinning while tightening the nut. Familiarize yourself with this process and adhere to the guidance provided in your service manual.
3. Be prepared for the possibility of needing additional tightening. After reassembling all components, including properly bolting up the wheel and safely lowering the vehicle, you may encounter clunking noises from the front suspension during a test drive. This could indicate that the top nut isn't fully torqued. In such cases, cautiously use an impact wrench from under the hood to further tighten the nut, ensuring it's securely fastened. Be gentle with the impact wrench, as only a few additional threads might be necessary.
Can a spring compressor be relied on for safety?
Absolutely, provided it's employed correctly and in optimal working order.
Is it feasible to compress a spring without a spring compressor?
It's strongly discouraged. Attempting to compress a spring without the appropriate tool is unsafe.
Is a spring compressor indispensable for installing lowering springs?
In most cases, yes. While there may be exceptions, such as certain aftermarket configurations, using a spring compressor is generally recommended for securely mounting the spring onto its corresponding shock.
What role does a spring compressor serve?
A spring compressor functions to condense a spring's size, facilitating its secure attachment to its designated shock absorber, thus forming a unified spring and shock system for a vehicle.
In conclusion, the spring compressor is a vital tool for anyone working on automotive suspension systems. Its function of safely compressing coil springs ensures smoother installation and removal, reducing the risk of accidents. By following proper procedures and safety measures, you can confidently tackle suspension-related tasks with ease and precision.
Click on the following link to read another blog post: How To Bleed Brake Fluid With a Pneumatic Vacuum Pump?


