
How To Change Engine Mounts?
Learn step-by-step how to change engine mounts efficiently and effectively. Discover the tools you need and essential tips for a successful replacement.

When you shop through retailer links on our site, we may earn affiliate commissions. Learn more
Replacing engine mounts is a vital aspect of vehicle maintenance to ensure smooth operation and prevent potential damage to the engine and surrounding components. Whether you're experiencing excessive vibrations, clunking noises, or simply want to maintain your car's performance, knowing how to replace engine mounts can save you time and money.
In this guide, we'll walk you through the step-by-step process, outlining the tools and steps required to complete the job effectively.
IN THIS ARTICLE
What Exactly Is An Engine Mount?When Should You Replace The Engine Mount?
What To Consider When Looking For A Engine Mount?
All The Essential Tools And Materials For Engine Mount Replacement
How To Change Engine Mounts?
FAQs
Final Thoughts
What Exactly Is An Engine Mount?
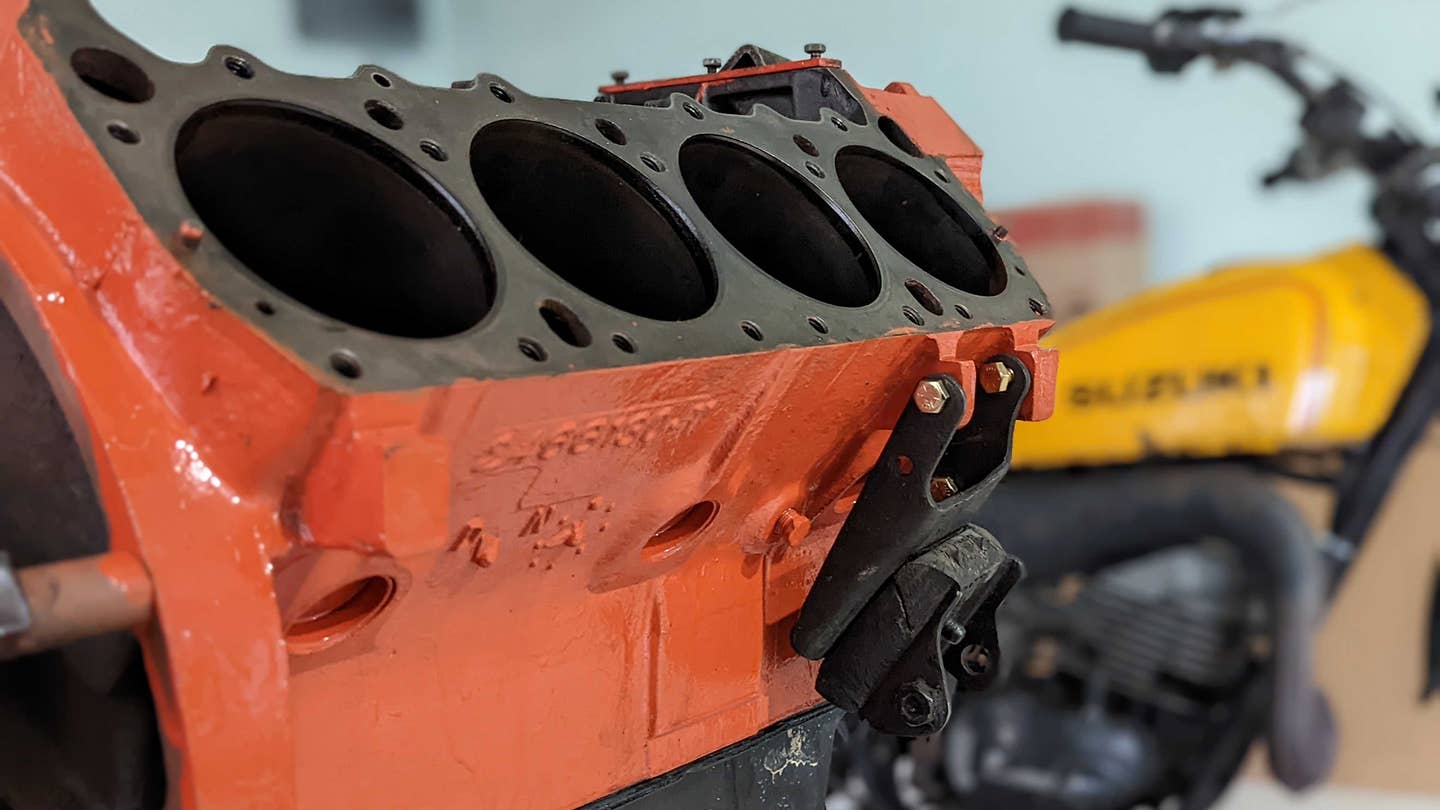
An engine mount, also known as a motor mount, is a component of a vehicle's engine support system. It serves to secure the engine to the chassis of the vehicle and helps absorb and dampen the vibrations generated by the engine during operation. Engine mounts are typically made of metal, rubber, or other resilient materials to provide stability while minimizing the transfer of engine vibrations to the vehicle's frame. They play a crucial role in maintaining the alignment of the engine and transmission components, as well as in reducing noise and improving overall driving comfort.
Related Articles
When Should You Replace The Engine Mount?
Knowing when to replace the engine mount is crucial for maintaining your vehicle's performance and preventing potential damage. Look for signs such as excessive engine movement, vibrations, clunking noises, or visible wear on the mounts. Additionally, if you notice compromised handling or performance, it's wise to inspect and potentially replace the engine mount. Regular maintenance checks can help catch any issues early and ensure your vehicle's engine is properly supported.

What To Consider When Looking For A Engine Mount?
When searching for a engine mount, consider the following factors:
- Compatibility: Ensure the mount is compatible with your vehicle's make, model, and engine type.
- Quality: Look for mounts made from durable materials and with quality construction to ensure longevity and reliability.
- Design: Choose between OEM (original equipment manufacturer) mounts for factory-like performance or aftermarket mounts for potentially improved performance or customization options.
- Mount Type: Determine if you need sitting-type or hanging-type mounts based on your vehicle's engine configuration.
- Reviews: Check customer reviews and ratings to gauge the mount's performance, durability, and ease of installation.
- Warranty: Look for mounts that come with a warranty to protect against any manufacturing defects or premature failures.
- Price: Compare prices from different retailers to find a balance between affordability and quality.
- Professional Installation: Consider whether you'll install the mount yourself or if you'll need professional assistance, especially for more complex installations.
All The Essential Tools And Materials For Engine Mount Replacement
Here's a rundown of all the essentials required for changing engine mounts, along with a list of tools and parts you'll need:
Tool List:
- Set of open-end wrenches
- hydraulic jack
- Ratchet and socket set
- Jack stands.
- Engine support
- Torque wrench
Parts List:
- Engine mounts
- necessary hardware
Having all these tools and parts organized before starting the task will streamline the process and prevent unnecessary delays or frustrations. Ensuring you have everything prepared beforehand can help you complete the job smoothly in one session, making the entire process much more manageable.
How To Change Engine Mounts?
Changing engine mounts typically follows a similar procedure, regardless of how they are attached to the vehicle. Here's a general guide:
- 1. Engine Support: Lift the engine slightly using a hydraulic jack or engine support bar to release tension from the mounts or prepare for removal. Depending on your car's configuration, the engine may sit on its mounts or hang from them, so adjust your method accordingly.
- 2. Unbolt and Lift: With the engine supported, unbolt the mounts, starting with the engine side bolts and then the chassis side. Lift the engine if necessary, using a jack for engines sitting on mounts or leaving it in position for hanging-type mounts.
- 3. Replace Mounts: Safely remove the old mounts and install the new ones, ensuring safety measures are in place. Position the new mounts and loosely thread the bolts.
- 4. Align and Torque: Position the engine correctly, aligning any dowel pins, and torque the mounts down. For sitting-type mounts, carefully lower the engine onto them, ensuring proper alignment. For hanging-type mounts, align the engine from the top and torque to specifications.
- 5. Final Check: Remove any engine support and double-check the torque on the mounts to ensure they are secure. Once confirmed, the job is complete.
FAQs
What happens if I drive with a broken engine mount?
It varies by mount type and car. Sitting-type mounts can cause damage and affect handling, while hanging-type mounts should be replaced immediately to prevent engine movement issues, though this is rare.
Can a broken engine mount make the engine fall out?
Highly unlikely. Generally, engines don't detach from the vehicle due to a broken mount.
Will bad engine mounts affect performance?
Definitely. Worn-out mounts can result in poor handling, power loss, and unusual engine behavior. Replace them promptly for optimal performance.
Final Thoughts
By following these steps and using the necessary tools, you can successfully replace your engine mounts and restore your vehicle's performance and stability. Remember to prioritize safety throughout the process, using jack stands and other support equipment as needed. Regular maintenance and prompt replacement of worn-out mounts will help prolong the life of your vehicle and ensure a smoother driving experience in the long run.
Click on the following link to read another blog post: How To Replace A Car Radiator?


