How To Remove Tar From Car?
Welcome to our guide to effectively removing tar from your car's exterior. Whether you've encountered stubborn tar spots during a road trip or from everyday commutes, we understand the frustration they can cause. Tar not only mars the appearance of your vehicle but can also be a challenge to remove without the right approach.
In this comprehensive guide, we'll walk you through step-by-step methods and useful tips to safely and efficiently eliminate tar deposits, restoring your car's pristine finish.

What Is Tar?
Tar, as it pertains to our roads, is a dark material made from a blend of asphalt and water. It's employed by construction teams for filling in gaps and crevices on the road's surface. Because of its consistency, it can easily adhere to car tires, leading to unsightly marks on paint, bumpers, and even within wheel wells. Apart from its aesthetic drawbacks, prolonged exposure to tar can result in paint damage like scratches or discoloration on your vehicle. Moreover, tar buildup on tires can stiffen them, consequently affecting their performance.
So here's exactly what you'll prepare to complete the task:.
- Fresh water and either a bucket or hose
- Microfiber cloths
- Protective gloves
- Eye gear
- Tar removal remedies such as peanut butter, WD-40, or a commercially available cleaning solution
- Car shampoo
- Wax
Getting tar from your car's paint isn't excessively time-consuming nor is it particularly challenging. Take your time and focus, and your car will soon be tar-free.
1. Loosen and remove the tar.
- Prepare your tools beforehand for easy access.
- Park your car in a secure, well-ventilated location.
- Apply your chosen cleaning solution to the tar-affected areas.
- If using peanut butter, spread it onto the tar spots and let it sit for 10–15 minutes. Then, gently rub in circular motions with a damp microfiber towel to remove the tar and residue.
- If using WD-40, spray it onto a towel and carefully wipe over the tar.
- If using a commercially available tar removal product, adhere to the instructions on the packaging. Ensure you neither overuse nor underuse the product to avoid damaging the paint or leaving tar behind.
2. Repeat the cleaning process on all affected areas of your car's paint.

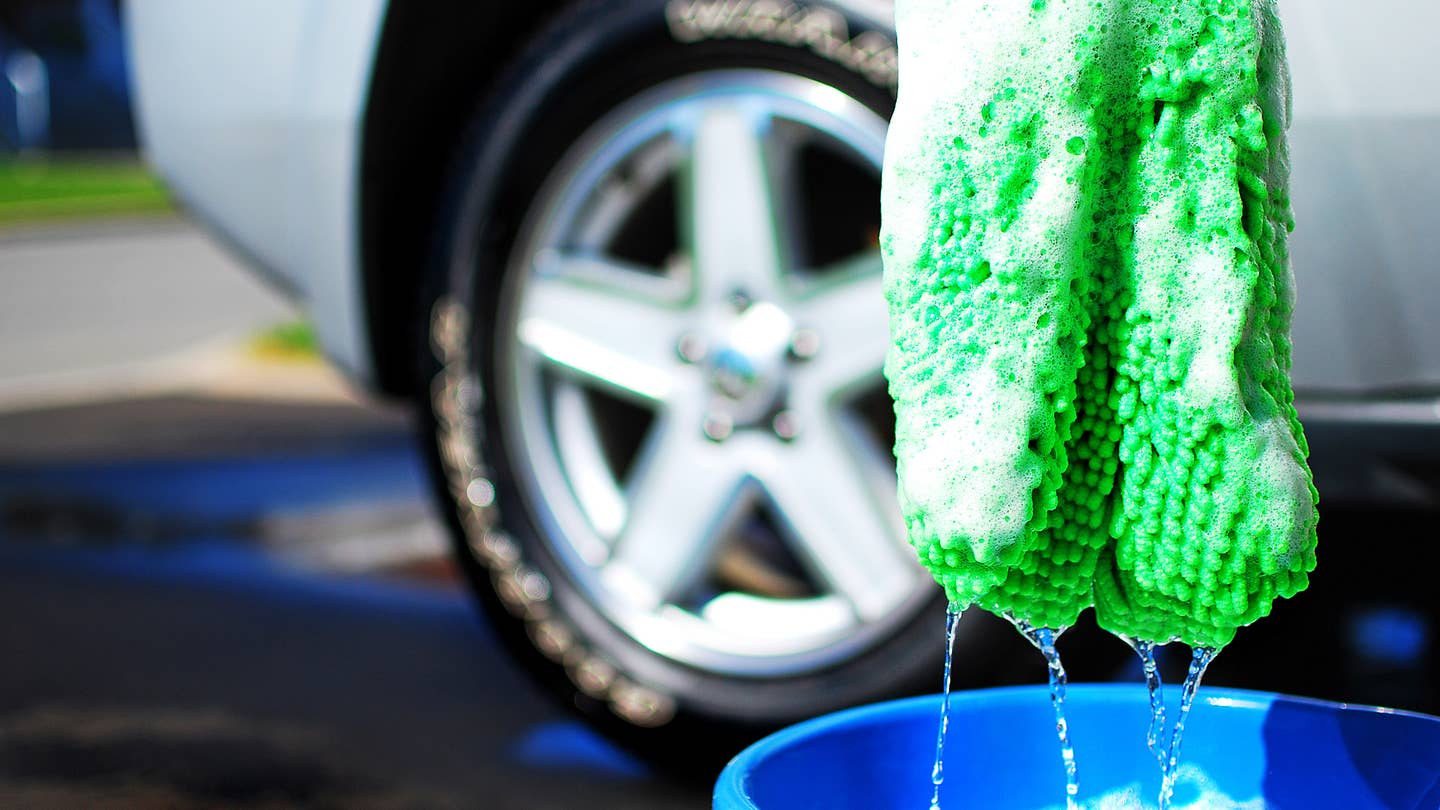
3. Use your preferred washing solution to thoroughly cleanse the exterior of your car, removing any remaining tar, residue, and cleaning solution you may have missed.
4. Dry your car as directed by the cleaning product's instructions.
5. Apply a wax or sealant product to safeguard your paint and enhance its appearance.
Taking measures to shield your car's paint job is crucial when utilizing chemical removers. Here are some useful suggestions:
- Utilize the tar remover judiciously, applying only the necessary amount to address the tar spots. Avoid excessive application, as it could result in unnecessary contact and potential harm to the paintwork.
- Work on small sections at a time to prevent the tar remover from drying out or lingering on the surface for an extended period.
- After applying the tar remover and wiping off the dissolved tar, rinse the treated area with clean water and thoroughly dry it to eliminate any remaining residue.

- Consider applying a protective wax or sealant to the treated area once it's clean and dry. This additional layer will further shield your car's paintwork from future tar accumulation and other pollutants.
Taking steps to prevent tar spots can save you the hassle of constantly battling them. Many tar removal products have a tendency to strip away any protective wax layers on your vehicle's surface. It's crucial to reapply wax or sealants to the affected area afterward, ensuring ongoing protection against dirt and future tar encounters. Investing in a ceramic coating for your vehicle offers a premium level of defense against tar spots, albeit at a higher cost. While it won't entirely eliminate tar adhesion, the coating will act as a barrier, safeguarding your paintwork.

For vehicles prone to tar encounters, installing mudguards can be a practical solution. These can significantly reduce the likelihood of tar adhering to your paint, as most tar spots are propelled by your tires.
In the end, effective tar removal depends on using the right products. Fortunately, these products are readily available and user-friendly. With a bit of patience, you can effortlessly rid your vehicle of sticky tar residue.
Where may I find tar in my car's common areas?
Tar is present on your car's paint, lower bodywork, and panels, among other places.
Which mistakes should you avoid when removing tar?
When removing tar, two frequent mistakes to avoid are applying a wash mitt and wiping it off with a dry microfiber towel. These techniques might not work and could harm the paint job.
Which paintwork is protected in my car when using a chemical tar remover?
After removing the tar using a chemical tar remover, you can use wax or sealer to preserve the paintwork of your car. This will offer a safeguard against additional tar accumulation in the future.
In conclusion, tackling tar spots on your car demands patience and the right tools. By following our step-by-step guide and utilizing effective tar removal techniques, you can restore your vehicle's pristine finish. Remember to prioritize protective measures to safeguard your paintwork and minimize future encounters with stubborn tar residues. Happy driving!
Click on the following link to read another blog post: How To Mix Auto Paint?


