
How to Remove Plasti Dip
Looking for a way to safely and easily remove your plasti dip from your car? This guide will walk you through the step-by-step process of removing it quickly and efficiently.

When you shop through retailer links on our site, we may earn affiliate commissions. Learn more
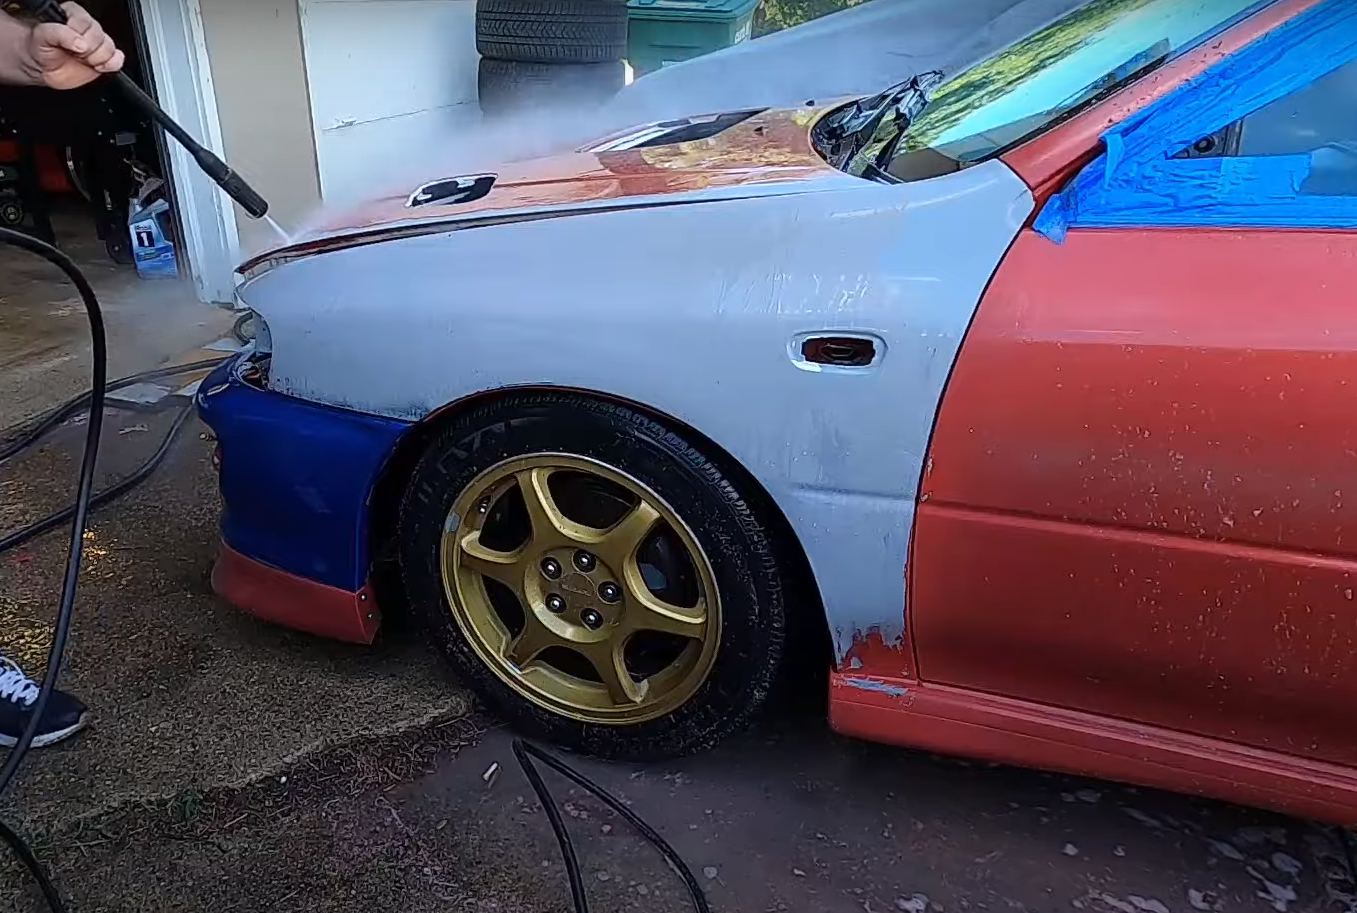
Are you tired of your car's bright orange paint and are looking to switch back to its original color? Plasti Dip can be an effective way to add a new coat of paint without the hassle or cost of traditional painting methods. But when it’s time for a change, how do you go about removing that extra layer?
Not to worry – in this blog post, we'll explore techniques for successfully removing Plasti Dip from every type of surface, so you can make sure your car has exactly the look you want. Read on and find out how easy it is to get back your beloved vehicle's original shade!
IN THIS ARTICLE
What is Plasti Dip?The Fundamentals of Plasti Dip Removal
Tips for Removing Plasti Dip
FAQs
What is Plasti Dip?
Plasti Dip is a brand of multi-purpose, specialty rubber coating often used for various applications like coating tools, automotive customization, and DIY projects. It was initially developed as a protective coating for tool handles, but its versatility has led to a wide range of uses.
Plasti Dip is a versatile, easily removable rubber coating suitable for diverse surfaces like metal, wood, plastic, and others. It is renowned for its capacity to furnish a protective, non-slip surface while also enabling customization and color alteration.

Related Articles
The Fundamentals of Plasti Dip Removal
Gather Supplies:
- Rubber Gloves: To protect your hands from the chemicals used in the removal process.
- Plastic Scraper or Spatula: For gently lifting and peeling the Plasti Dip.
- Microfiber Cloth: To help with the removal and cleanup.
- Goo Gone or a similar adhesive remover (optional): This can be useful for stubborn areas.
1. Prepare the Work Area:
- Choose a well-ventilated area, preferably outdoors, to prevent fumes from accumulating.
- Lay down a drop cloth or old newspapers to catch any debris or Plasti Dip remnants.
2. Start Peeling:
- Begin by finding an edge or corner of the Plasti Dip coating. You may need to use a plastic scraper to create a starting point if there isn't a loose edge.
- Gently lift the Plasti Dip from the surface, starting at the corner. Avoid using excessive force to prevent damage to the underlying material.
3. Peel Methodically:
- Carefully peel the Plasti Dip off the surface, working in small sections.
- If the coating is stubborn in certain areas, you can use a plastic scraper or your fingernail to help lift it.
4. Adhesive Remover (Optional):
- If there are leftover residue or adhesive, you can use a product like Goo Gone to help dissolve and remove it. Follow the product's instructions, and use it sparingly.
5. Wipe Clean:
- After removing all the Plasti Dip, wipe down the surface with a microfiber cloth to clean off any remaining residue or cleaner.
6. Inspect and Touch-Up:
- Inspect the surface to ensure that all Plasti Dip and residue are removed. If any areas remain coated or sticky, repeat the process in those spots.
7. Final Cleaning:
- Clean the surface with soap and water to remove any leftover residue from the adhesive remover, if used.
8. Dry and Polish:
- To make sure the surface is totally dry, let it air dry or use a fresh, dry cloth.
- For automotive applications in particular, you might also think about protecting and shining the surface again with polishing or waxing.
Tips for Removing Plasti Dip
When removing Plasti Dip, it's crucial to proceed with patience and care. Start by gently warming the coating with a heat gun or hairdryer to soften it. Begin peeling at an edge or corner, or use a plastic scraper to create a starting point if necessary. Peel slowly and evenly, avoiding excessive force to prevent damage. You can use your fingernail or a thumb to get under the Plasti Dip and initiate the peeling process, but be cautious not to scratch the underlying surface.
If adhesive residue remains, an adhesive remover can come in handy. Work in small sections and clean up as you go to maintain control and prevent residue from sticking to other surfaces. Once the Plasti Dip is removed, thoroughly clean the surface with soap and water and inspect it for any remaining residue. With a methodical approach and these tips, you can effectively remove Plasti Dip without harming the underlying surface.
FAQs
-
What if some Plasti Dip is still left on the surface?
Carefully inspect the surface and, if any areas remain coated or sticky, repeat the removal process in those spots.
-
Can I restore and protect the surface after removal?
Yes, consider using wax or a suitable surface protector to enhance the appearance and protect the surface, especially for automotive applications.
View more article here: The 10 Best 0-Degree Sleeping Bags For Your Winter Adventures


