How To Install A Boost Gauge?
Boost gauges are crucial instruments for anyone interested in monitoring their turbocharged engine's performance. They provide real-time feedback on the amount of boost pressure being generated, allowing drivers to optimize their engine's performance while ensuring it operates within safe limits.
Proper installation of a boost gauge is essential to obtain accurate readings and maintain engine health over time. Keep reading our blog post to learn exactly how to install a boost gauge step-by-step.

What Is The Boost Gauge?
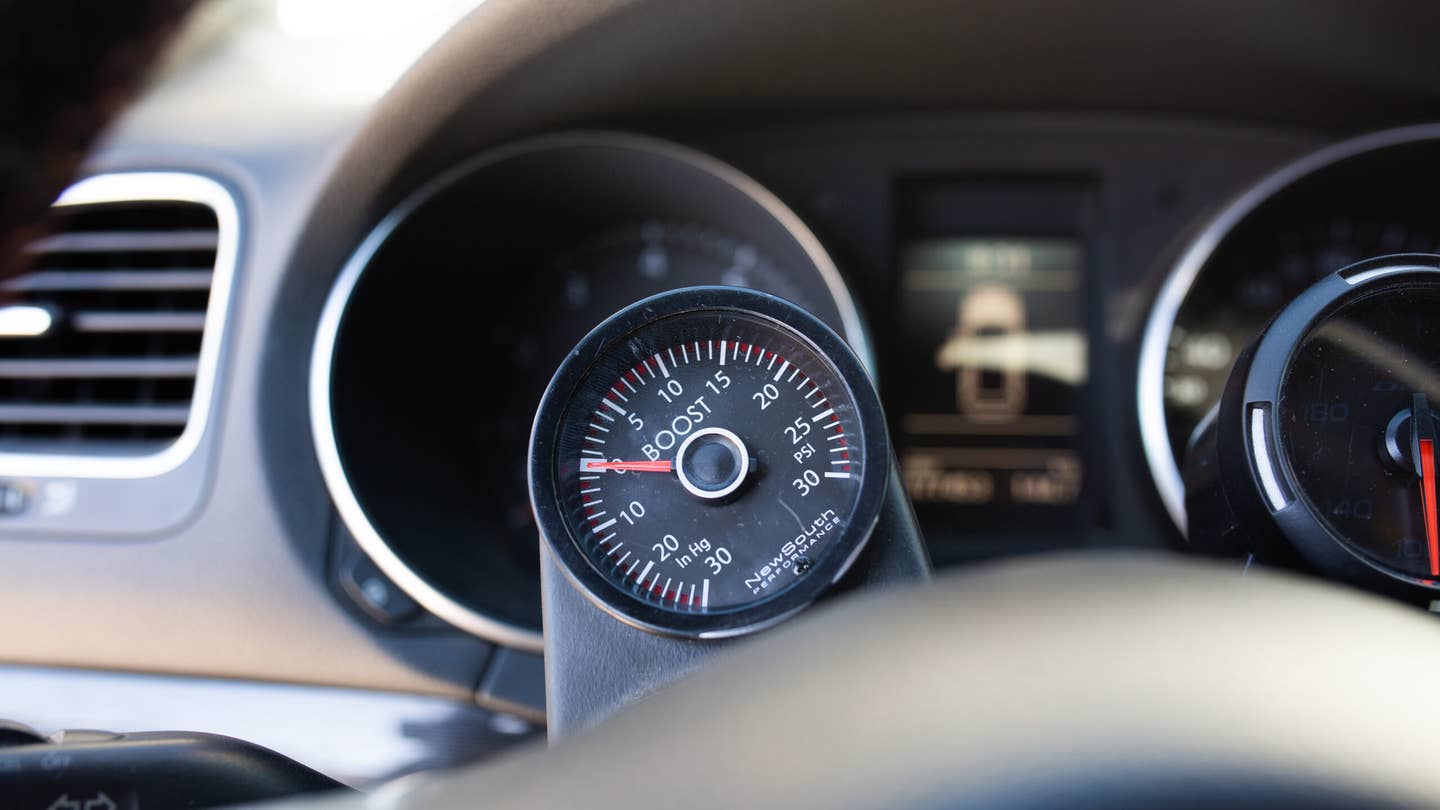
A boost gauge is a device used in cars with turbocharged or supercharged engines to measure the amount of boost pressure generated. It typically consists of a dial or digital display mounted inside the vehicle's cabin, showing the pressure in units like pounds per square inch (psi) or bar. Monitoring boost pressure helps drivers optimize engine performance and prevent damage from overboost or underboost conditions.

Before diving into the installation process, make sure you have all the required tools and materials at hand.
Tools:
Screwdrivers
Wrenches
Drill (if necessary)
Materials:
Boost gauge kit (including gauge, tubing, and fittings)
Electrical wiring (if applicable)
Before starting the installation process, it's essential to make some preliminary preparations:
Read the manufacturer's instructions thoroughly:
Before you begin, carefully review the manufacturer's instructions that come with your boost gauge kit. Each kit may have specific requirements and recommendations that you need to follow for proper installation.
Identify a suitable location for gauge installation:
Choose a location inside your vehicle where you want to mount the boost gauge. Common locations include the A-pillar, dashboard, or gauge pod. Consider accessibility and visibility when selecting the location.
Prepare the vehicle:
Before you start working, disconnect the battery to prevent any electrical mishaps. Additionally, access any panels or components necessary to route tubing from the engine bay to the gauge location.
Now let's dive into the step-by-step process of installing a boost gauge:
Mounting the gauge:
- Choose Mounting Location: Decide where you want to mount the boost gauge inside your vehicle. Ensure it's easily visible and accessible while driving.
- Install the mounting bracket or gauge pod: Depending on your chosen location, install the mounting bracket or gauge pod securely using the appropriate tools.
- Secure the Gauge in Place: Once the mounting bracket or pod is in place, secure the boost gauge onto it according to the manufacturer's instructions.
Connecting Tubing:
- Route Tubing from Engine Bay to Gauge Location: Carefully route the tubing from the engine bay to the interior of your vehicle, ensuring it's free from obstructions and sources of heat.
- Cut Tubing to Required Lengths: Use a sharp tool to cut the tubing to the required lengths, accounting for any bends or twists necessary for the routing.
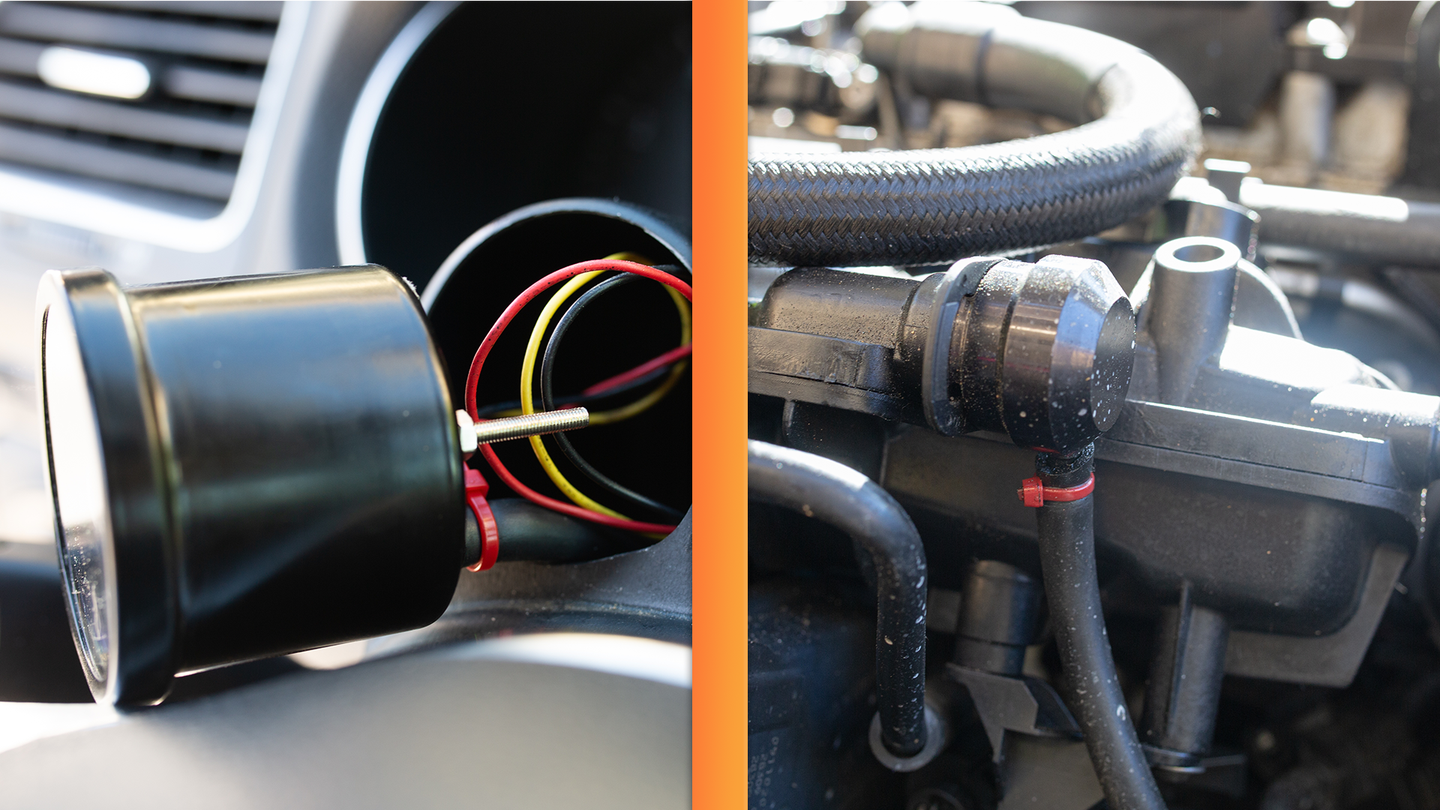
- Connect Tubing to Boost Source and Gauge: Attach one end of the tubing to the boost source on the engine, such as the intake manifold or intercooler piping. Connect the other end to the boost gauge securely.
Electrical Connections (if applicable):
If your boost gauge requires electrical connections for illumination or additional features, follow these steps:
- Connect Wiring Harness to Gauge: Attach the wiring harness included with the boost gauge kit to the back of the gauge.
- Connect Power and Ground Wires: Identify suitable power and ground sources inside your vehicle and connect the corresponding wires from the gauge's wiring harness.
- Test Gauge Illumination: Once connected, turn on your vehicle's ignition to test the gauge's illumination. Ensure it lights up properly and adjust if necessary.

Testing:
- Reconnect Battery: After completing the installation, reconnect your vehicle's battery to restore power.
- Start Engine and Check for Leaks: Start the engine and carefully inspect all connections for any signs of leaks or abnormalities.
- Verify Gauge Accuracy: Compare the readings on the boost gauge with known boost levels to ensure its accuracy and reliability.
Before wrapping up the installation process, perform these final checks and adjustments:
Secure all connections and tidy up the wiring:
Double-check all connections, ensuring they're tight and secure. Tidy up any excess wiring or tubing to prevent interference with other components.
Double-check gauge calibration and accuracy:
Test the boost gauge's calibration by comparing its readings with a known source of boost pressure. Make any necessary adjustments to ensure accuracy.

Ensure gauge illumination (if applicable) is functioning properly:
Confirm that the gauge's illumination is functioning correctly under various lighting conditions. Adjust brightness settings if needed.
Test drive to verify functionality:
Take your vehicle for a test drive to verify the boost gauge's functionality under real-world driving conditions. Monitor the readings closely and ensure they align with your expectations.
Can I install a boost gauge myself?
Yes, many enthusiasts can install a boost gauge independently, but professional help is recommended if unsure.
Do I need to calibrate my boost gauge?
Usually, no, as most come pre-calibrated, but verifying accuracy during installation is wise.
Can I use a boost gauge in a non-turbocharged vehicle?
Yes, it can monitor vacuum pressure or other engine parameters with proper installation and calibration.
Is fluctuation in boost gauge readings normal?
Some fluctuation is typical, especially during acceleration, but significant changes may indicate issues requiring inspection.
In conclusion, installing a boost gauge is a relatively straightforward process that requires careful attention to detail. By following the steps outlined above and consulting the manufacturer's instructions, you can successfully install a boost gauge in your vehicle and gain valuable insights into your turbocharged engine's performance.
Click on the following link to read another blog post: How To Protect Yourself From Odometer Fraud?


.png)


