
How To Clean A Carburetor?
Enhance your engine's performance with our guide to carburetor cleaning. Learn expert techniques and step-by-step instructions for hassle-free maintenance.

When you shop through retailer links on our site, we may earn affiliate commissions. Learn more
Cleaning a carburetor is essential for maintaining the smooth operation of your engine. Over time, dirt, debris, and old fuel can accumulate in the carburetor, leading to poor performance or even engine failure. Fortunately, with the right tools and a little know-how, cleaning a carburetor can be a straightforward task.
In this guide, we'll outline the step-by-step process to effectively clean a carburetor, empowering you to keep your engine running at its best.
IN THIS ARTICLE
When Should You Clean Your Carburetor?Carburetor Cleaning: Tools And Materials Needed
How To Clean A Carburetor?
Tips For Cleaning A Carburetor Safely
FAQs
Final Thoughts
When Should You Clean Your Carburetor?
When to Clean a Carburetor:
- Signs of Poor Performance: If you notice symptoms such as rough idling, stalling, hard starting, or decreased fuel efficiency, it may indicate that the carburetor needs cleaning.
- Maintenance Schedule: Follow the manufacturer's recommended maintenance schedule for your specific vehicle or equipment. Carburetor cleaning is often included in routine maintenance tasks.
- Seasonal Maintenance: Clean the carburetor as part of seasonal maintenance, especially before storing equipment for an extended period, such as winterizing lawnmowers or other seasonal tools.
- Environmental Factors: If you operate in dusty or dirty conditions or if your fuel quality is poor, you may need to clean the carburetor more frequently to prevent buildup and maintain optimal performance.
- Regular Inspection: Periodically inspect the carburetor visually for signs of dirt, debris, or varnish buildup. If you notice any accumulation, it's a good indication that cleaning is necessary.
Related Articles
Carburetor Cleaning: Tools And Materials Needed
Before beginning the carburetor cleaning process, gather the following tools and materials:
- Clean Rag: To plug the manifold opening and prevent debris from falling in during disassembly.
- Catch Can: For draining fuel from the carburetor before disassembly.
- Brass Brush: Used to remove heavy deposits from carburetor parts before soaking.
- Carburetor Cleaner: A solvent for soaking and cleaning carburetor components.
- Chemical Bath Container: A container large enough to submerge carburetor parts for soaking.
- Thin wire: for clearing blockages in passages and jets.
- Drill Bits (optional): Matching the size of carburetor jets to clear stubborn blockages.
How To Clean A Carburetor?
1. Remove the carburetor from the manifold.
While it's possible to clean parts of the carburetor while it's on the manifold, it's not comprehensive. Plus, there's a risk of dropping debris into the manifold. To prevent this, insert a clean rag into the manifold opening.
2. Drain the fuel.
Before disassembling the carburetor, it's wise to drain all the fuel. You can either tilt the carburetor upside down or cycle the throttle to expedite the process.
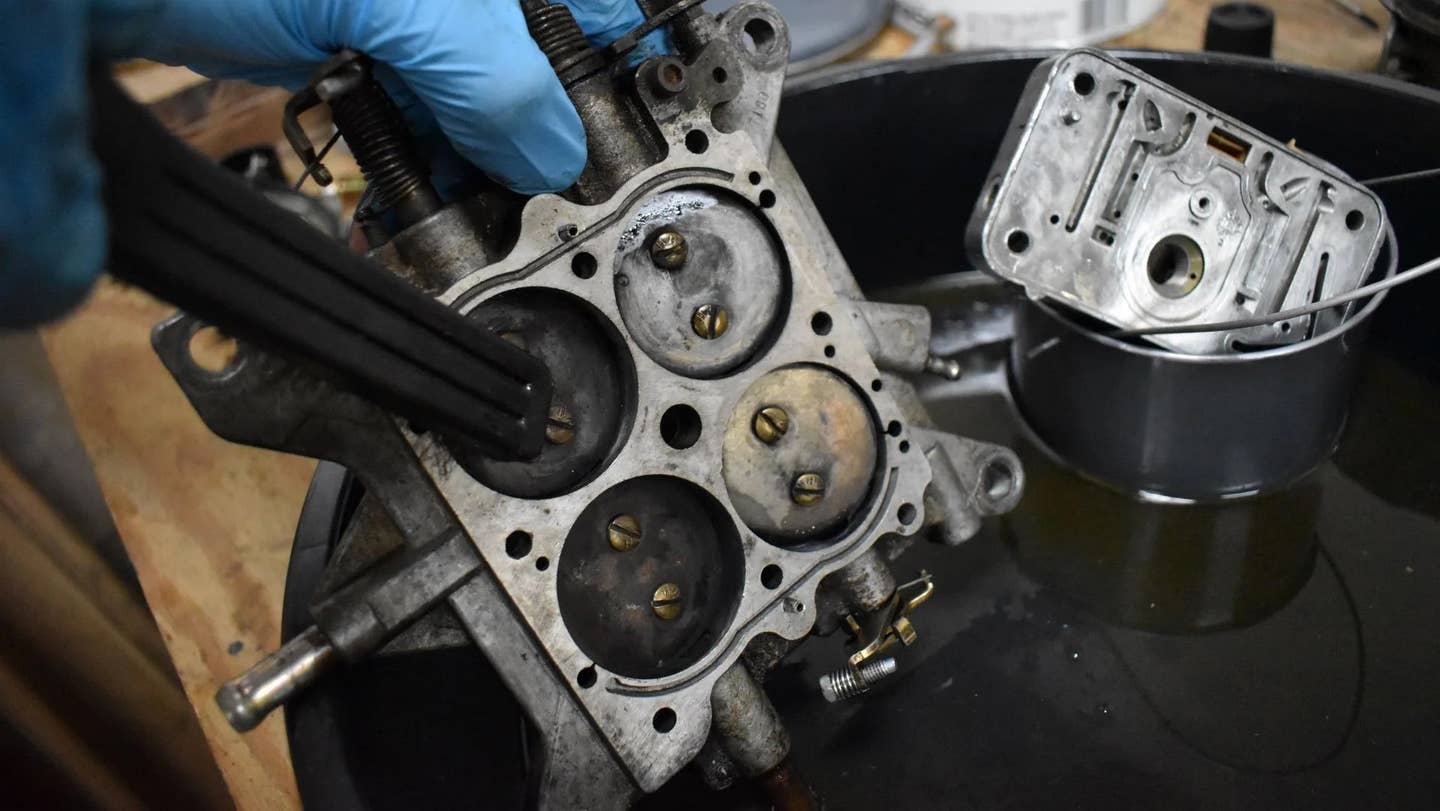
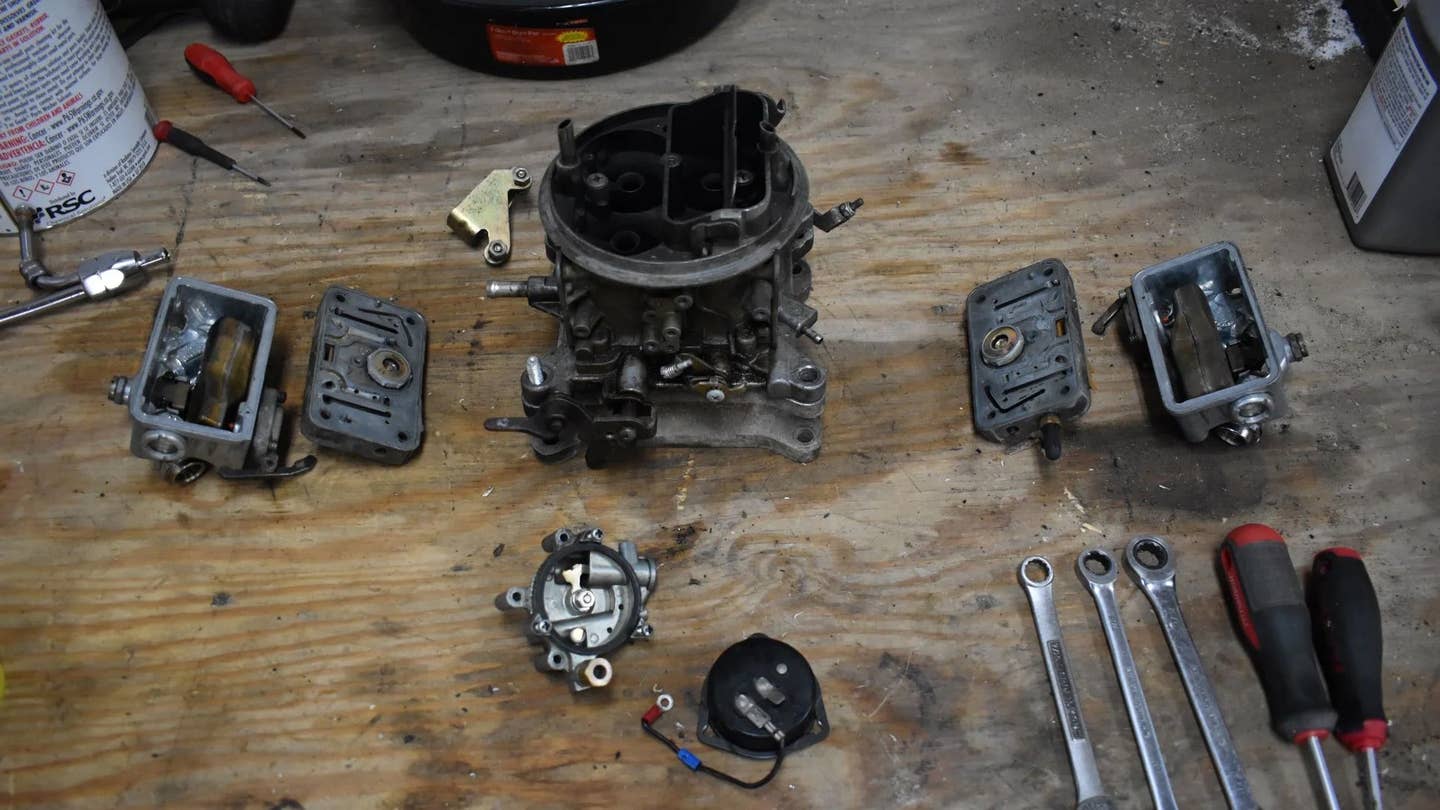
3. Disassemble the carburetor.
The disassembly process varies for each carburetor model, so follow the specific guidelines. Keep track of each part you remove and its location. Components such as jets, metering rods, and discharge nozzles should be returned to their original positions.
4. Remove heavy deposits.
Prior to soaking the parts in a chemical bath, remove any significant deposits using a brass brush and carb cleaner. This step prevents prolonging the soaking time and reduces wear on the cleaning solution.
5. Soak the parts.
After removing the bulk of the grime, soak each part in a chemical bath for 20 to 30 minutes. You can work in batches to expedite the process.
6. Scrub and spray.
After soaking, use a clean brass brush and carburetor cleaner to scrub away any remaining buildup on the parts.
7. Clean Passages
Carburetors contain hidden passages that also need cleaning. Use carb cleaner to flush these passages and ensure proper flow. Clear any blockages with a thin wire, taking care to protect your eyes.
8. Inspect and clean jets.
Check the jets for buildup by holding them up to the light. If they're clogged, use a matching-sized wire or drill bit to clear the blockage. Avoid using a drill to prevent damage to the orifice.
9. Reassemble the carburetor.
Once all parts are clean, reassemble the carburetor, following the reverse of the disassembly process. Rebuilding ensures optimal performance and longevity of the carburetor.
Tips For Cleaning A Carburetor Safely
Here are some tips you should follow to clean a carburetor safely:
- Safety Gear: Before starting, wear appropriate safety gear, such as gloves and safety goggles, to protect your hands and eyes from chemicals and debris.
- Work in a Well-Ventilated Area: Choose a well-ventilated workspace to avoid inhaling fumes from the cleaning solvents.
- Disconnect Battery: To prevent accidental sparks, disconnect the battery before cleaning the carburetor.
- Allow the Engine to Cool: Ensure the engine has cooled down completely before beginning the cleaning process to avoid burns.
- Follow Manufacturer Instructions: Refer to the manufacturer's instructions for the specific carburetor model you are cleaning to ensure proper disassembly and reassembly.
- Use the Right Cleaning Products: Only use recommended carburetor cleaning solvents and avoid using abrasive materials that could damage delicate components.
- Take Precautions with Chemicals: Handle cleaning solvents with care and follow the safety instructions on the product label. Avoid prolonged skin contact and the inhalation of fumes.
- Check for Blockages: Thoroughly inspect passages and jets for blockages, and use caution when clearing them with wire or drill bits to avoid damaging the carburetor.
- Reassemble Carefully: Take your time during reassembly to ensure all components are properly fitted and tightened according to manufacturer specifications.
FAQs
What's the best way to clean a carburetor without disassembly?
Unfortunately, there's no reliable method without disassembly. While fuel system additives may help, they often can't tackle stubborn deposits. Your most effective option is disassembling the carburetor and using dedicated solvents and chemicals to ensure thorough cleaning.
How can I tell if my carburetor needs cleaning?
Several signs indicate it's time for carburetor maintenance, such as fuel overflow, running too rich or lean, or engine stalling. If adjusting the carburetor doesn't resolve these issues, it's likely time for cleaning.
What's involved in carburetor rebuilding?
Carburetor rebuilding ranges from replacing seals and gaskets to overhauling major components. It's often best done alongside cleaning. The process varies by carburetor model; we'll outline the rebuild of a Holley 4150 Double Pumper as an example.
Final Thoughts
Regular cleaning of your carburetor is crucial for maintaining peak engine performance and efficiency. By following the steps outlined in this guide and conducting routine maintenance, you can prevent issues such as rough idling, stalling, and hard starting. Keep your engine running smoothly by incorporating carburetor cleaning into your regular maintenance routine.
Click on the following link to read another blog post: How To Open A Square Drain Plug Without A Square Socket?


