
How To Bleed Brake Fluid With a Pneumatic Vacuum Pump?
Learn to bleed brake fluid efficiently with a pneumatic vacuum pump in our detailed guide for optimal vehicle safety and performance.

When you shop through retailer links on our site, we may earn affiliate commissions. Learn more
Understanding brake bleeding and its importance is crucial for maintaining a safe and efficient brake system in your vehicle. Brake fluid, a vital component, can deteriorate over time due to moisture and rust contamination, hindering braking performance. Regular brake fluid replacement, typically recommended every three years, is essential to ensuring optimal braking function.
Brake bleeding, a process to remove air from the brake system and refresh it with new fluid, is integral to this maintenance routine. In this guide, we’ll explore the significance of brake bleeding and provide a comprehensive overview of how to perform it effectively using a vacuum pump.
IN THIS ARTICLE
What exactly is brake bleeding, and why is it required?Equipment And Supplies Necessary For Preparing To Flush Brake Fluid Using A Vacuum Pump
How To Bleed Brakes With A Pneumatic Vacuum Pump?
Tips To Bleed Brakes Effectively
FAQs
Final Thoughts
What exactly is brake bleeding, and why is it required?
The brake system's key component is the brake fluid. In order to slow the wheel, you must apply pressure to the brake pedal, which causes the brake fluid to move the brake components. Brake fluids can become contaminated with rust and moisture over time, making it more difficult to apply the brakes and stop the car safely. Every three years, the majority of auto manufacturers advise changing the brake fluid. Brake bleeding is a useful technique that removes air from the braking system and replaces it with fresh brake fluid.

Related Articles
Equipment And Supplies Necessary For Preparing To Flush Brake Fluid Using A Vacuum Pump
Vacuum Pump
When it comes to vehicle upkeep, conducting brake fluid flushes is relatively straightforward. You'll require the following items:
List of Tools
- Jack stands
- Floor jack
- Air compressor
- Vacuum brake bleeder
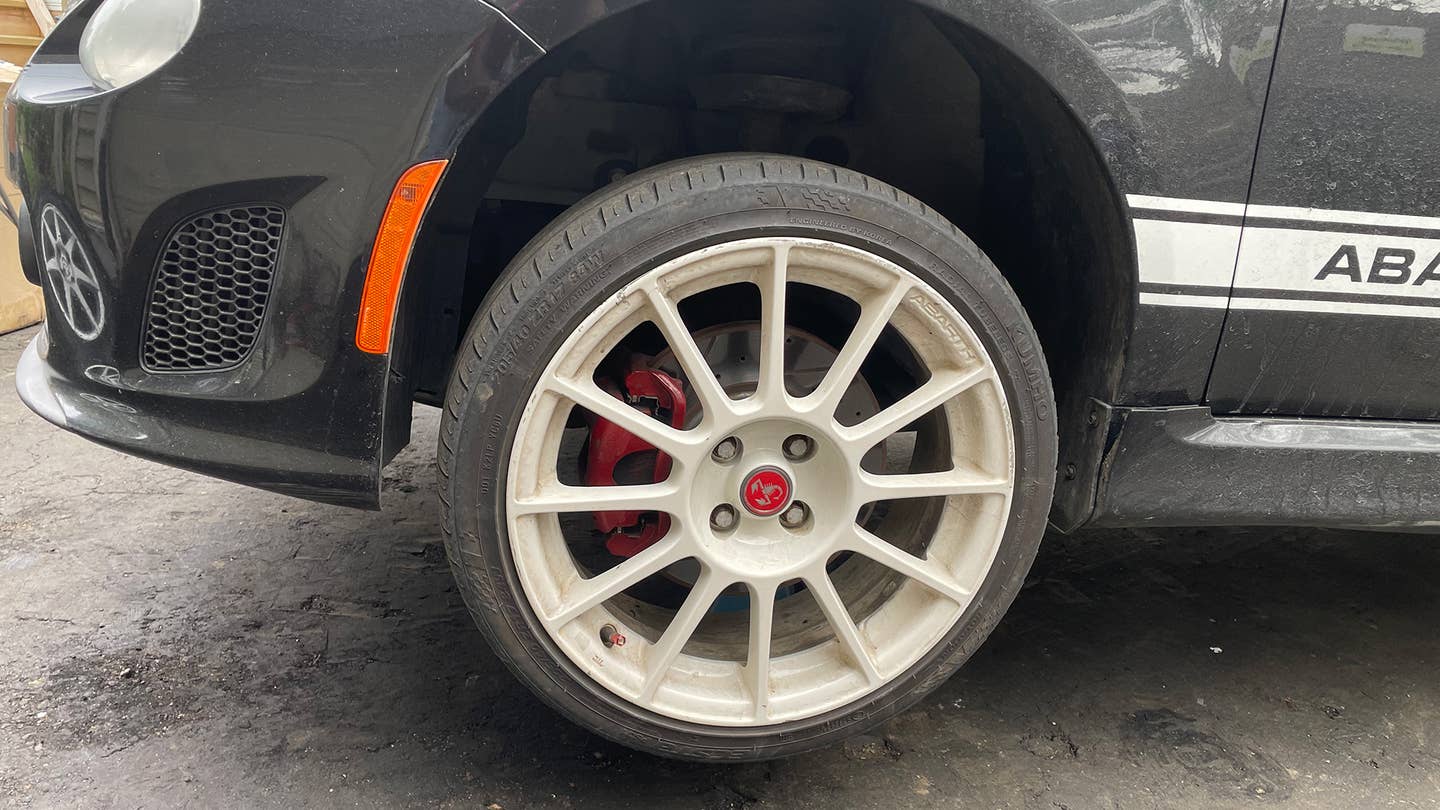
- Set of line wrenches, regular wrenches, or a suitable socket set for loosening the bleeder valve on the brake caliper. (For example, the front caliper bleeder valves of the Fiat 500 Abarth use 8 mm, while the rear caliper bleeder valves use 12 mm.)
List of Products
- Several bottles of the appropriate brake fluid for your vehicle, as specified in the owner's manual or on the brake fluid reservoir cap. For instance, my Fiat 500 Abarth utilizes the DOT 3 specification.
- Brake parts cleaner
How To Bleed Brakes With A Pneumatic Vacuum Pump?
Prepare your workspace before proceeding with the following steps:.
1. Elevate the vehicle, secure with Jack Stands, and dismount the wheel(s).
Ensure the vehicle is parked on a level surface, then use a floor jack to raise it. You have the option to lift each corner individually or all four corners at once.
2. Set up the vacuum bleeder kit and identify the bleeder ports.
Connect the hose to the vacuum pump, and link the vacuum pump to the air compressor hose. Activate the air compressor. Subsequently, identify the bleeder port, typically situated on the rear side of the caliper, and remove any dust cap or sleeve covering it.
3. Attach the vacuum hose to the bleeder port.
Commence bleeding with the wheel farthest from the master cylinder. For example, if the master cylinder is located on the front driver's side, start with the rear passenger side wheel. Connect the air hose to the port securely, ensuring a tight seal with the catch canister.
4. Evacuate and renew fluid from the primary brake fluid reservoir.
Locate the main brake fluid reservoir in the engine bay. While a vacuum can be utilized here, alternative tools such as a handheld fluid extractor or turkey baster may also be used. Open the reservoir and extract the old fluid, replacing it with fresh fluid. Maintain a loose cap to facilitate airflow while preventing contamination.
Monitor the reservoir level as fluid is drained, ensuring it remains adequately filled to prevent air from entering the system.

5. Purge the brake system.
Loosen the bleeder screw on the brake caliper using a wrench or socket, then activate the vacuum to draw out the fluid. Monitor the brake fluid reservoir, topping it up as necessary. Continue bleeding until the expelled fluid transitions from dark and dirty to a clear or OEM light yellow hue.
6. Seal Bleeder Valves Upon Completion of Each Wheel
Once the fluid appears clean, detach the hose and securely tighten the bleeder valve using a wrench. Reattach the cap and proceed to bleed the next wheel cylinder. Applying a small amount of brake cleaner to the valves is advisable.
7. Verify fluid levels and test brake functionality.
After bleeding each wheel cylinder, double-check the brake fluid reservoir to ensure it's at the correct level. Test the brakes by applying pressure to the pedal; it should feel firm without any unusual movement.
With successful completion, the brake pedal should maintain its pre-bleeding feel, if not slightly improve, offering reassurance that the brake fluid is no longer contaminated.
Tips To Bleed Brakes Effectively
Inaccurate brake bleeding can be a time-consuming process, necessitating repetition until all air is expelled from the hydraulic system.
To mitigate such challenges, consider the following tips for successful vacuum bleeding:
Consult manufacturer recommendations.
Each vehicle may adhere to a distinct bleeding sequence. Refer to the owner’s manual to ascertain the correct order. Failure to adhere to the prescribed sequence may result in residual air in the brake line, compromising braking performance.
Employ fresh brake fluid.
Opt for recently opened hydraulic brake fluid during refilling or bleeding procedures. The use of aged brake fluid, even if only a week old, can detrimentally impact the brake system. Upon exposure to air, brake fluid accumulates moisture, diminishing its quality over time.

Utilize Teflon Tape and Grease on Bleeder Screws (Optional)
In instances where hydraulic brake fluid leakage through bleeder screws is a concern, consider applying Teflon tape to the brake caliper threads before replacing the bleed screw.
Monitor brake fluid level in the master cylinder.
Throughout the brake bleeding process, ensure the master cylinder remains adequately filled with fluid. Avoid allowing the fluid level to drop excessively low, as depletion of the brake fluid reservoir may result in complete brake failure.
Employ protective attire and equipment.
Given the hygroscopic nature of brake fluid, which absorbs atmospheric water, exposure to the human body can pose risks. Additionally, brake fluid spills may damage your vehicle's paint. Wear safety glasses and gloves as protective gear, and keep a bucket of water and shop towels nearby for immediate cleanup of any spilled fluid.
FAQs
How often should I change my brake fluid?
Recommendations may vary by car and manufacturer. Typically, it's advised to refer to your owner’s manual or online sources. As a general guideline, aim for replacement every two to three years.
Is a vacuum pump necessary for brake bleeding?
While not obligatory, a vacuum pump can greatly streamline the process. Using one, I completed the task in about 35 minutes, significantly faster than the traditional two-person method.
Do I need an air compressor for the vacuum pump?
Yes, to some extent. You'll need a device capable of creating a strong vacuum. I used an air compressor suitable for air tools, but others have successfully used AC evacuation compressors or electric bike pumps.
Final Thoughts
Ensuring the proper functioning of your vehicle's brakes is paramount for road safety. By understanding the importance of brake fluid maintenance and the process of brake bleeding, you can proactively safeguard against potential brake failure. Armed with the knowledge and tools outlined in this guide, you can confidently perform brake fluid flushes, thereby maintaining your vehicle's braking system in top condition. Remember to adhere to manufacturer recommendations, use fresh brake fluid, and follow safety protocols to achieve optimal results and enjoy a smooth, reliable driving experience.
Click on the following link to read another blog post: How To Use A Spring Compressor?


