
How To Backup Camera Installation?
Discover how to install a backup camera in your vehicle with expert guidance. Learn about camera types, wiring tips, and safety precautions for a seamless installation process.

When you shop through retailer links on our site, we may earn affiliate commissions. Learn more
Are you considering adding a backup camera to your beloved but aging vehicle? It's a fantastic decision! These ingenious devices have revolutionized vehicle safety and are now considered essential features in the automotive world. However, backup cameras aren't exclusive to dealership vehicles anymore.
Today, aftermarket backup cameras are readily available, allowing anyone to equip their older vehicles with this crucial safety tool. While new vehicles seamlessly integrate backup cameras into their electronic systems, the same functionality can be achieved with custom aftermarket setups.
By making a few adjustments to the rear of your vehicle and connecting a couple of wires, you can eliminate the need to strain your neck while reversing, ensuring you never miss a thing happening behind you. And fear not, because our expert is here to guide you through every step of the installation process.
IN THIS ARTICLE
What Exactly Does A Backup Camera Do?Ensuring Safety During Backup Camera Installation
Necessary Equipment For Backup Camera Installation
How To Install A Backup Camera
FAQs
Final Thoughts
What Exactly Does A Backup Camera Do?
A backup camera, integrated into a vehicle's systems during manufacturing, offers a live view of the area behind the vehicle when it's shifted into reverse. This feature enhances the driver's visibility, minimizing the risk of any unexpected encounters, like Fido narrowly avoiding a close call with the tires.
Let's delve into the various camera types and display options commonly found:
Camera Varieties
- Bracket-mounted: These cameras are affixed to a separate bracket that can be installed on the vehicle's surface.
- Flush-mounted: Designed to seamlessly blend into the vehicle's surface for a sleek appearance.
- License plate frame: cameras integrated within a license plate frame for a discreet look.
- License plate bar: Positioned at the center of a bar that spans the width of the license plate.
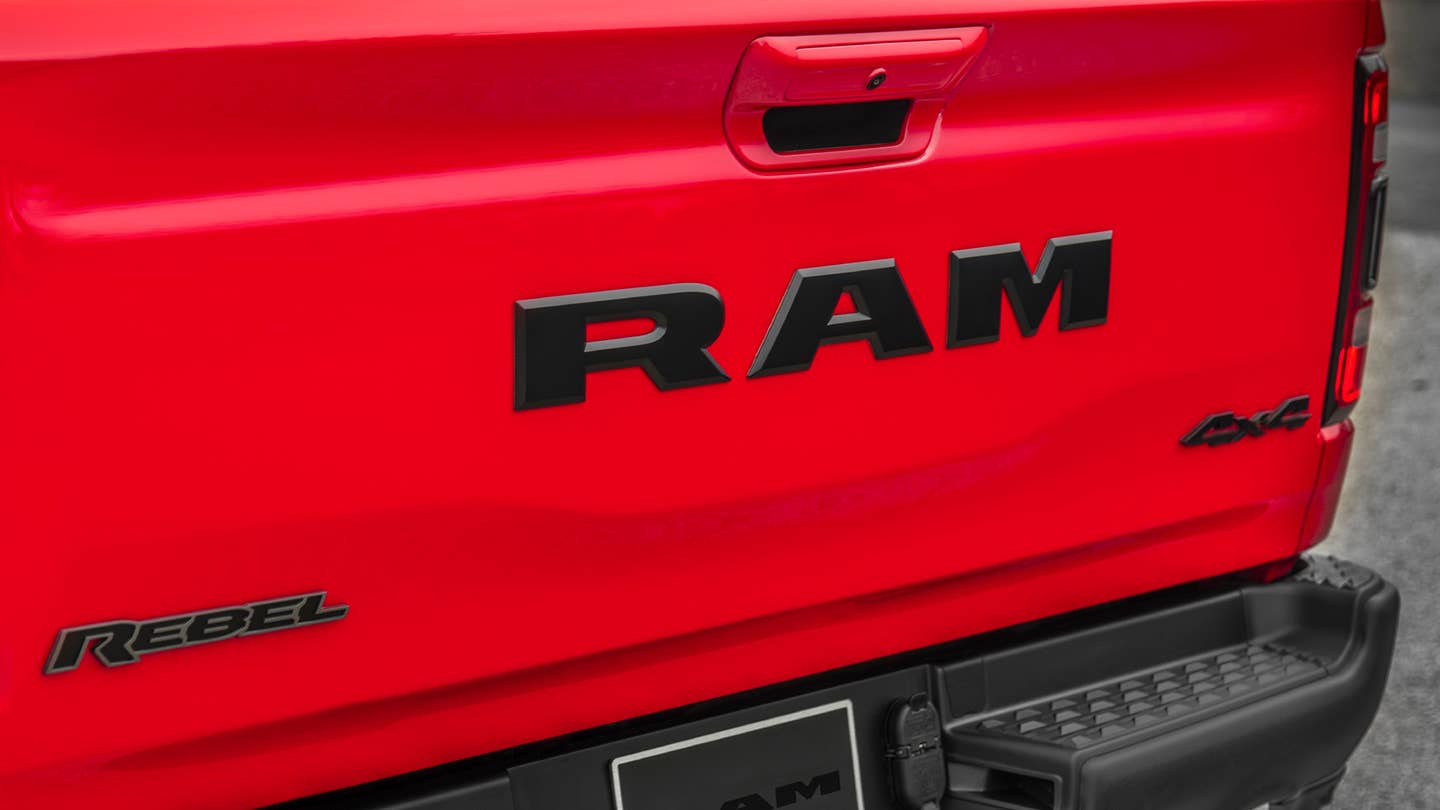
- OEM-specific: Certain newer used vehicles may support specific parts, such as a latch handle, equipped with a built-in camera, offering a seamless factory-installed appearance.
Display Choices
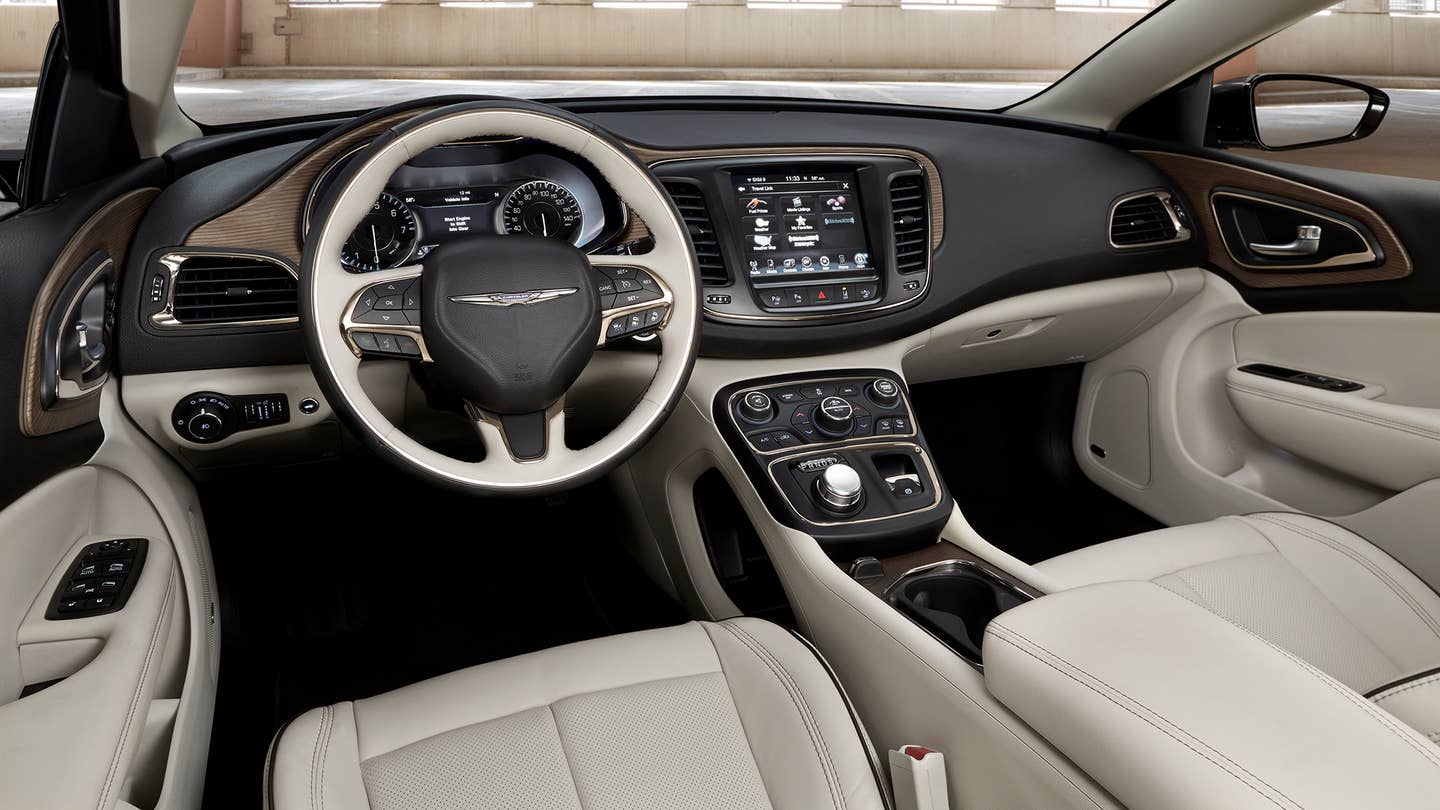
- Integrated OEM: Factory-installed units that are part of the car's dashboard or sit atop it.
- In-dash aftermarket: additional infotainment stereos with screens that seamlessly integrate into the dashboard.
- On-dash aftermarket: stand-alone monitors that can be placed on the dashboard's surface.
- Rearview mirror: monitors built into rearview mirrors, which may occupy either half or the entire mirror's surface, appear as conventional mirrors when not in use.
Wired vs. Wireless: Wired backup cameras necessitate a physical wire connection to transmit video from the camera to the display, while wireless options utilize signal and receiver technology, eliminating the need for wires.
Related Articles
Ensuring Safety During Backup Camera Installation
Engaging in automotive work can be messy, especially when dealing with neglected surfaces that accumulate dirt and grime. Additionally, it carries inherent risks, with electrical hazards capable of disrupting your heart's rhythm in the blink of an eye. Therefore, here's a rundown of essential precautions to maintain cleanliness and safeguard your well-being:
- Wear mechanic gloves to shield your hands.
- Don a long-sleeve shirt to protect your arms from potential abrasions.
- Equip safety glasses to safeguard your eyes from debris and splatters.
Furthermore, organizing your tools and equipment in advance ensures efficiency, preventing unnecessary delays while waiting for assistance from helpers. It's crucial to establish a flat and spacious workspace, whether it's a garage floor, driveway, or street parking. However, be mindful of local regulations to avoid any legal infractions, as we're not footing the bill for impound fees.
Necessary Equipment For Backup Camera Installation
Without any psychic abilities or a peek into your toolbox, here's a rundown of what you'll need to accomplish the task at hand.
Tools Checklist
- Flathead screwdriver
- Phillips screwdriver
- Trim/panel removal tools
- Wire strippers
- Cordless drill
- 3/32 to ⅛ drill bit
- Automotive Multimeter
- Wire connectors such as Posi-Taps
- Electrical tape
- Zip ties
- A trusty assistant
Parts Inventory
- Rearview camera
- Wire cluster
- Monitor or infotainment unit (if required)
- Rubber grommet
How To Install A Backup Camera
Installing the Camera
- Ensure the vehicle is turned off.
- Safely disconnect the vehicle's battery terminals.
- Remove the license plate if needed.
- Position the camera as desired on the vehicle.
- Mark where the camera's cord intersects with the vehicle.
- Depending on the vehicle type and camera location, interior panel removal may be necessary.
- Check for any wires, cables, or trim pieces that could be damaged during drilling.
- Determine the appropriate drill bit size for the camera wire and grommet.
- Drill a hole where marked and insert the rubber grommet.
- Feed the camera wiring through the hole and attach the camera to the vehicle.
Wiring Installation
- Connect the provided wire cluster to the camera wire, splitting into video, power, and possibly reverse signal wires.
- For a neat appearance, route the wiring alongside the existing manufacturer wiring loom.
- Identify a power source for the camera, such as a reverse or license plate light.
- Use a multimeter to identify positive and negative wires from the light source.
- Connect the camera wires to the corresponding light wires using splice or Posi-Tap connectors.
- If Posi-Taps are unavailable, perform a military splice for wire connection.
- Identify a signal source for the reverse signal wire using a multimeter or aftermarket stereo wiring harness.
- Tap into the signal source and connect it to the video wire.
- Route the wires discreetly through the vehicle's interior, either under the floor or through the headliner.

Connecting the Display
- Install the monitor in the desired location, such as the dashboard or rearview mirror.
- Connect the monitor to power, video, and signal wires.
- Use a multimeter to determine a suitable power source, either from the fuse box or existing stereo unit.
- Connect the monitor power cable accordingly, ensuring it turns off with the ignition.
- Alternatively, connect the power wiring to the existing stereo unit, matching positive and negative wires.
Completion
1. Reconnect the battery terminals safely.
2. Start the car and shift into reverse to check if the monitor displays the rear video feed.
3. If successful, turn off the car; if not, review the installation steps.
4. Secure any excess wire with electrical tape, zip ties, or velcro.
5. Reinstall the stereo head unit or any removed interior parts.
FAQs
Why should I consider adding a backup camera to my vehicle?
Backup cameras significantly enhance safety by providing a clear view of the area behind your vehicle, reducing the risk of accidents, especially involving pedestrians or obstacles.
Can backup cameras only be installed in new vehicles from dealerships?
No, aftermarket backup cameras are readily available, making it possible to equip older vehicles with this essential safety feature.
What are the different types of backup cameras available?
Backup cameras come in various types, including bracket-mounted, flush-mounted, license plate frame, license plate bar, and OEM-specific, each offering unique installation options.
Final Thoughts
Adding a backup camera enhances safety and driving convenience for any vehicle, regardless of its age. With aftermarket options widely available, installation is now accessible to all. By understanding camera types, installation steps, and safety precautions, you can equip your vehicle with this invaluable feature. Despite initial challenges, the benefits of enhanced safety and peace of mind make the effort worthwhile. Upgrade your car and driving experience with a backup camera today.
Click on the following link to read another blog post: How To Back Up A Trailer?


.png "best car youtube channels")
